
Software Engineer ·
Any distro with WSL
In my recent job, I was forced to use Windows (Yeah, I know). So, I needed to find a way to use a Unix-based distro. Some distros are available in the Windows store, but I wanted to use Arch, which is not officially maintained. So, I started digging into how to do that myself.
In this article, I will walk you through step how to use any Docker (or container) image as WSL (Windows Subsystem for Linux), not only Arch but other distros as well. Let’s focus on container images available in the Docker Hub.
First things first, we need Docker to pull our base image. I’m going to install Ubuntu and install Docker in WSL.
I find this method cleaner than installing Docker Desktop. We can delete this WSL later.
Let’s assume you have WSL installed and ensure it’s the latest version by running wsl --update.
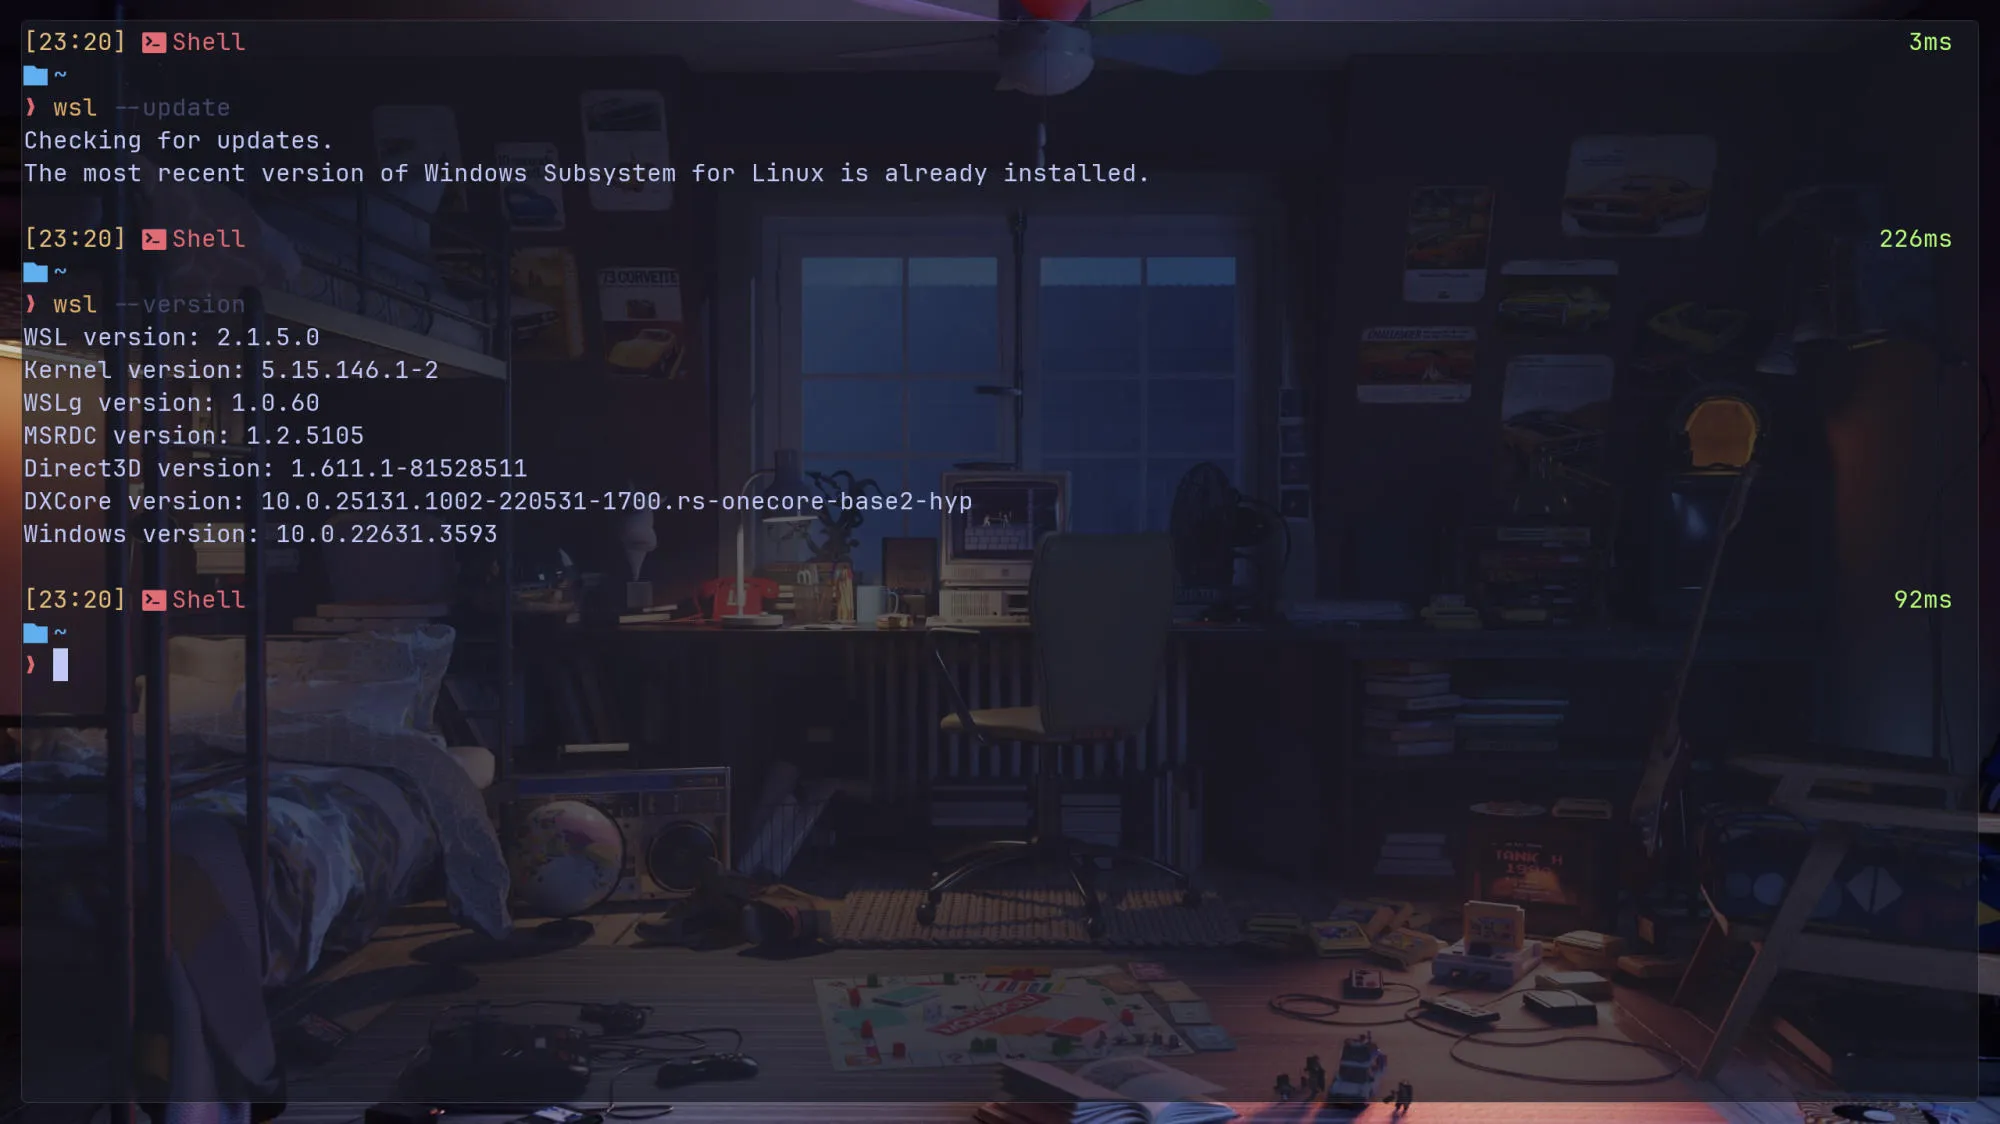
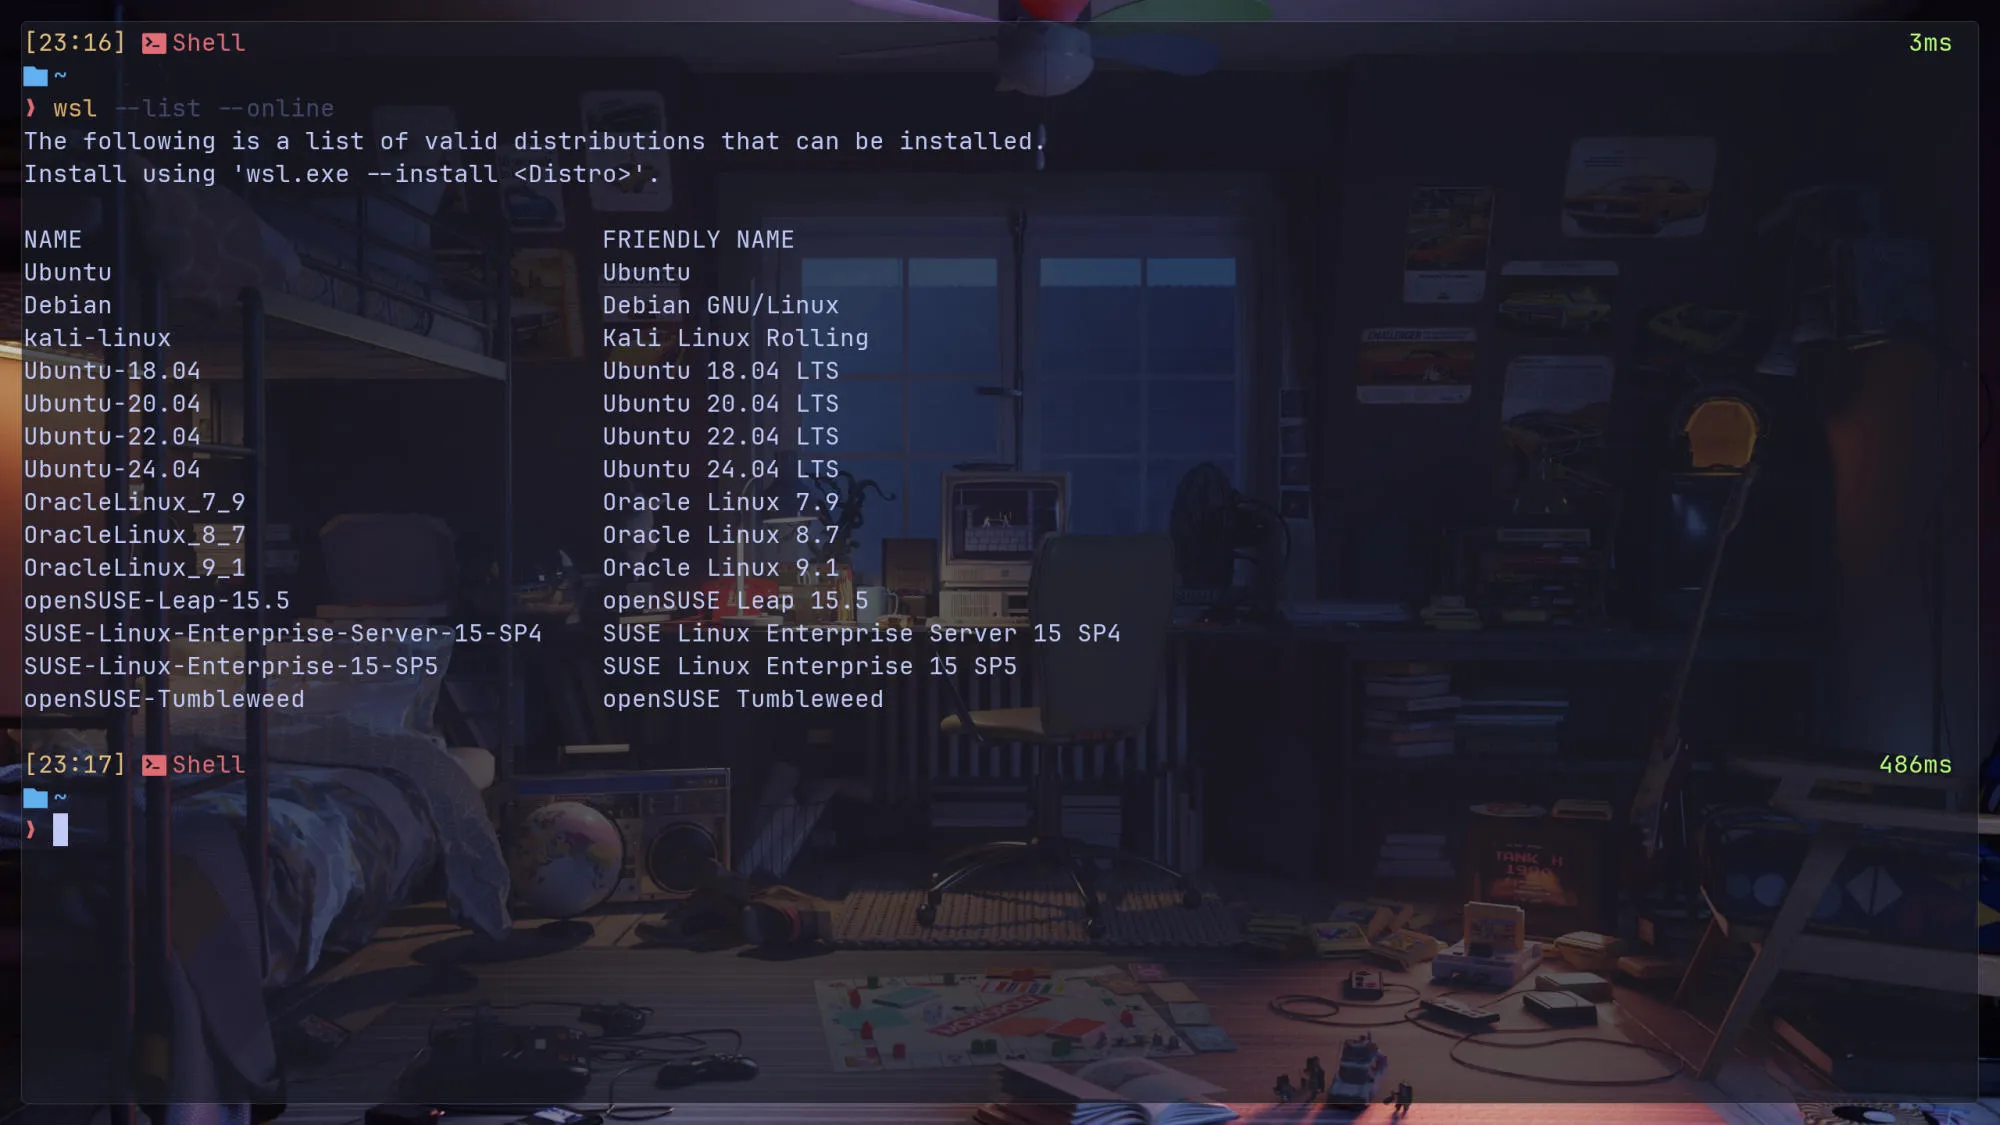
After that, install Ubuntu with the WSL command wsl --install -d ubuntu or another Ubuntu variant by listing available distros using the command wsl --list --online.
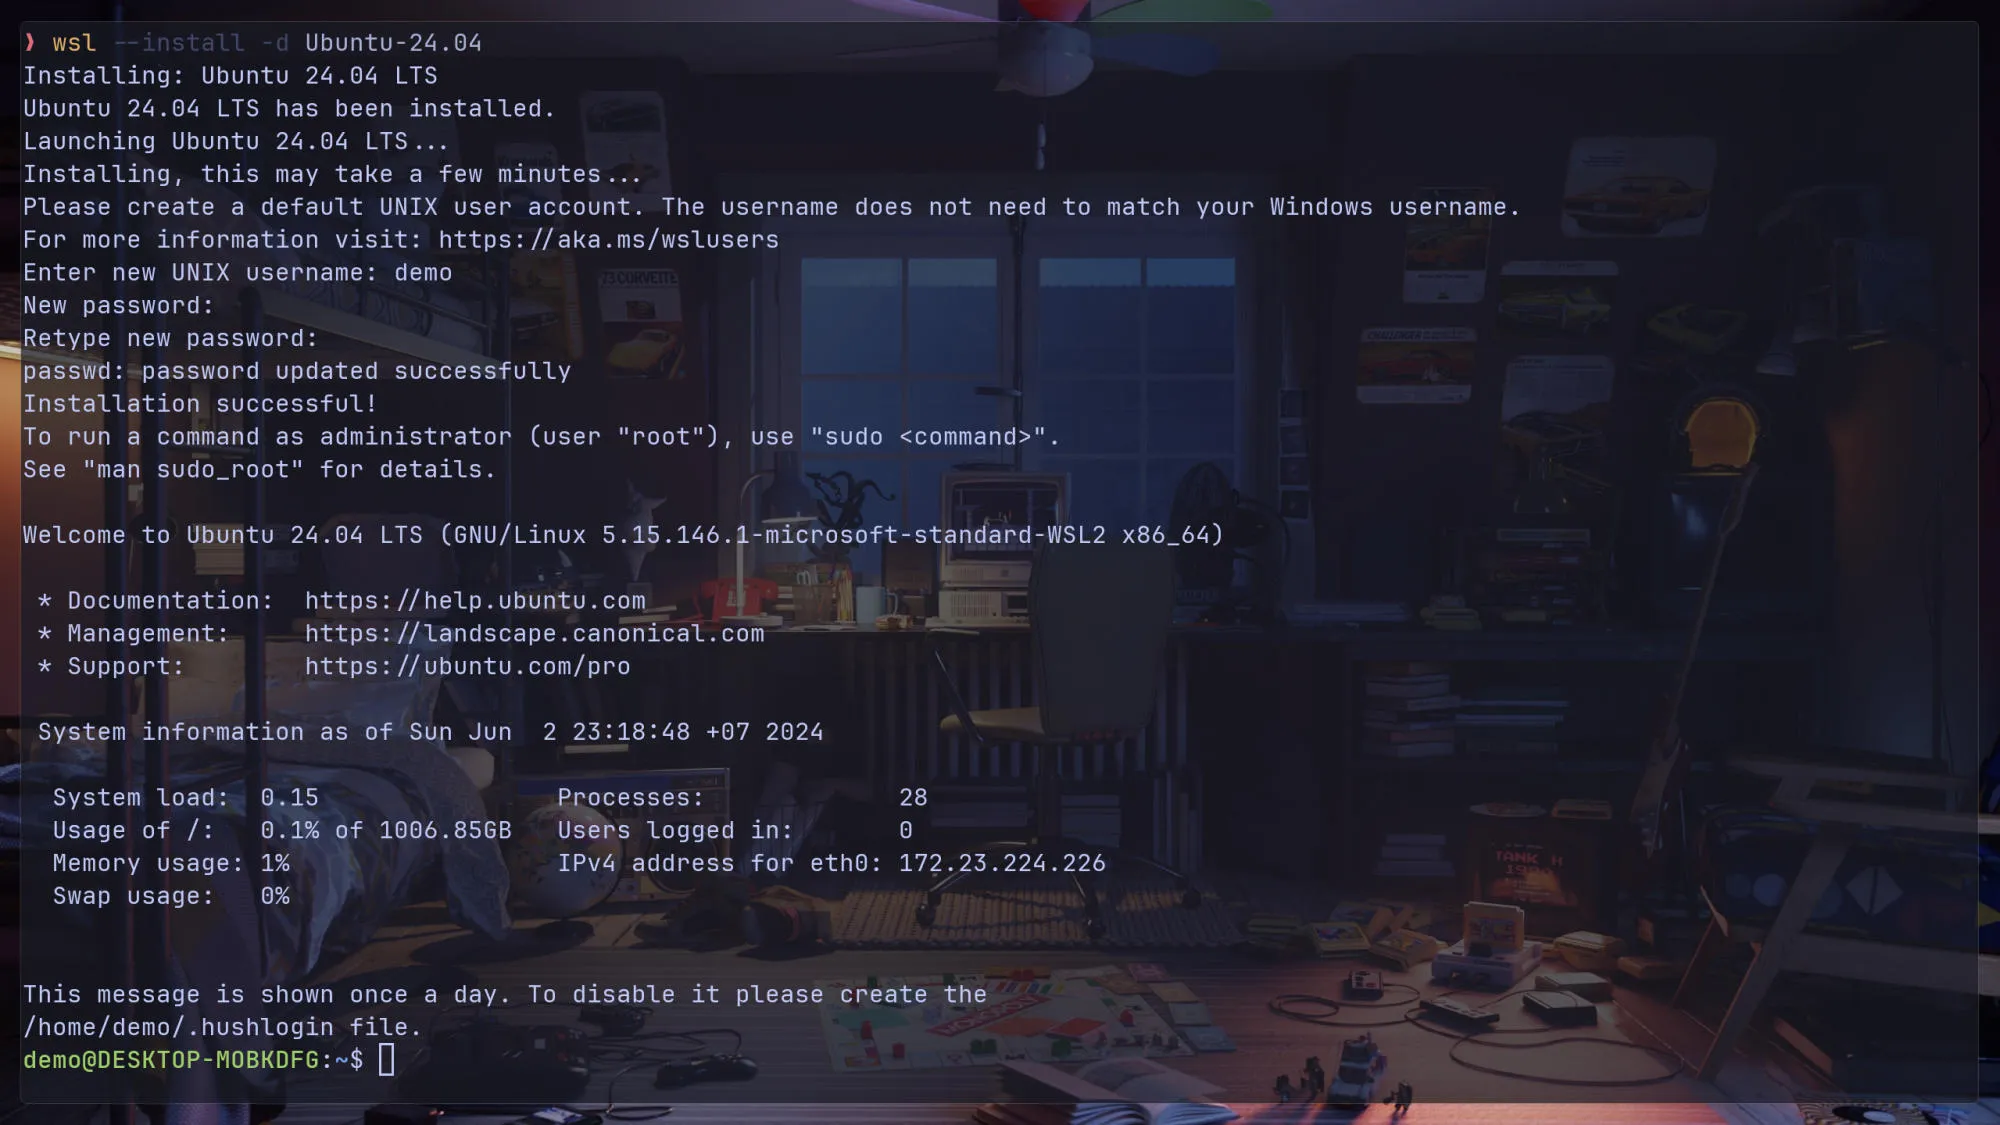
After finishing installing Ubuntu, you will be prompted to register a username and password.
Next, we will install Docker with the script from Docker Install GitHub Repository. This can take a couple of minutes.
curl -fsSL https://get.docker.com -o get-docker.sh
sh get-docker.sh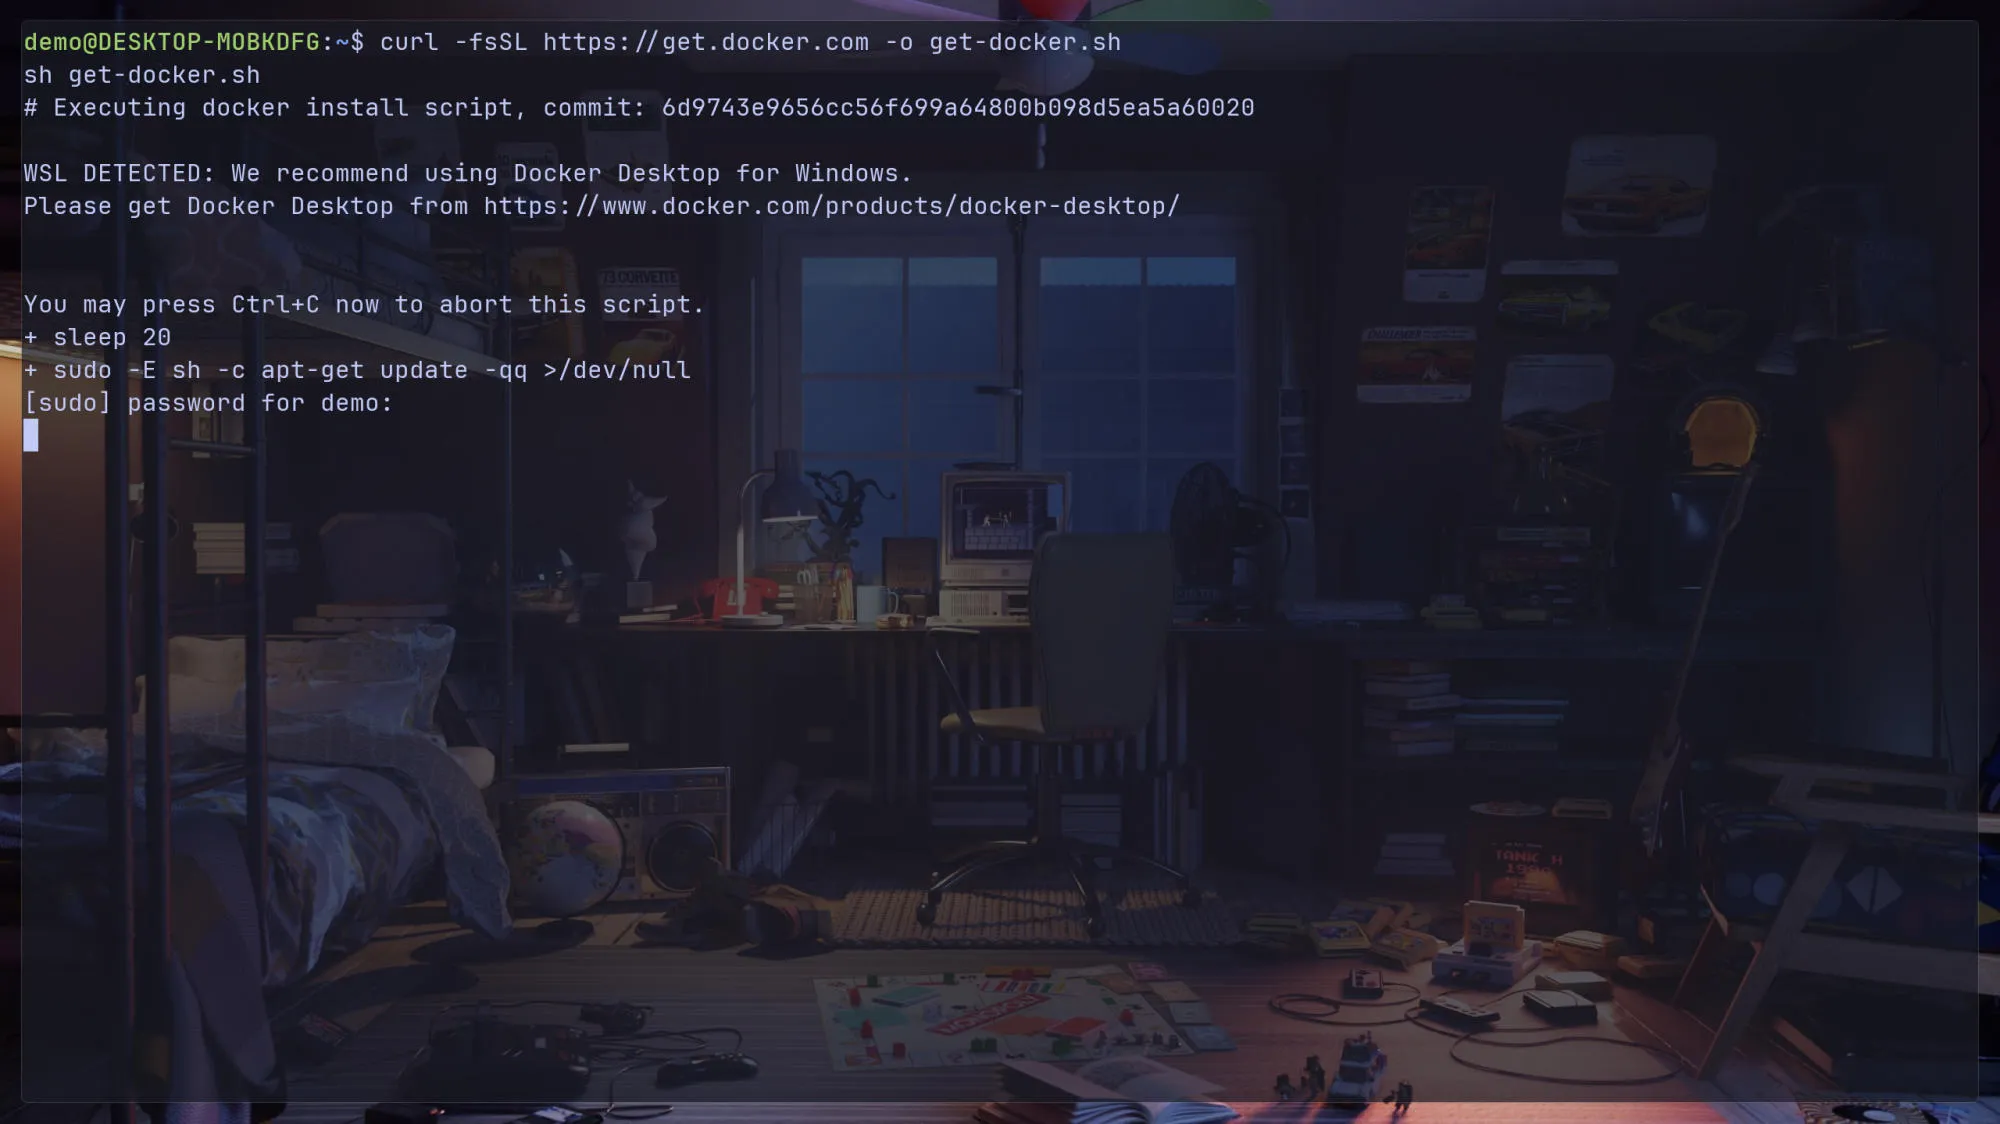
After Docker is installed, run the post-install script so we can run Docker without typing sudo.
Docker Post-Install Documentation
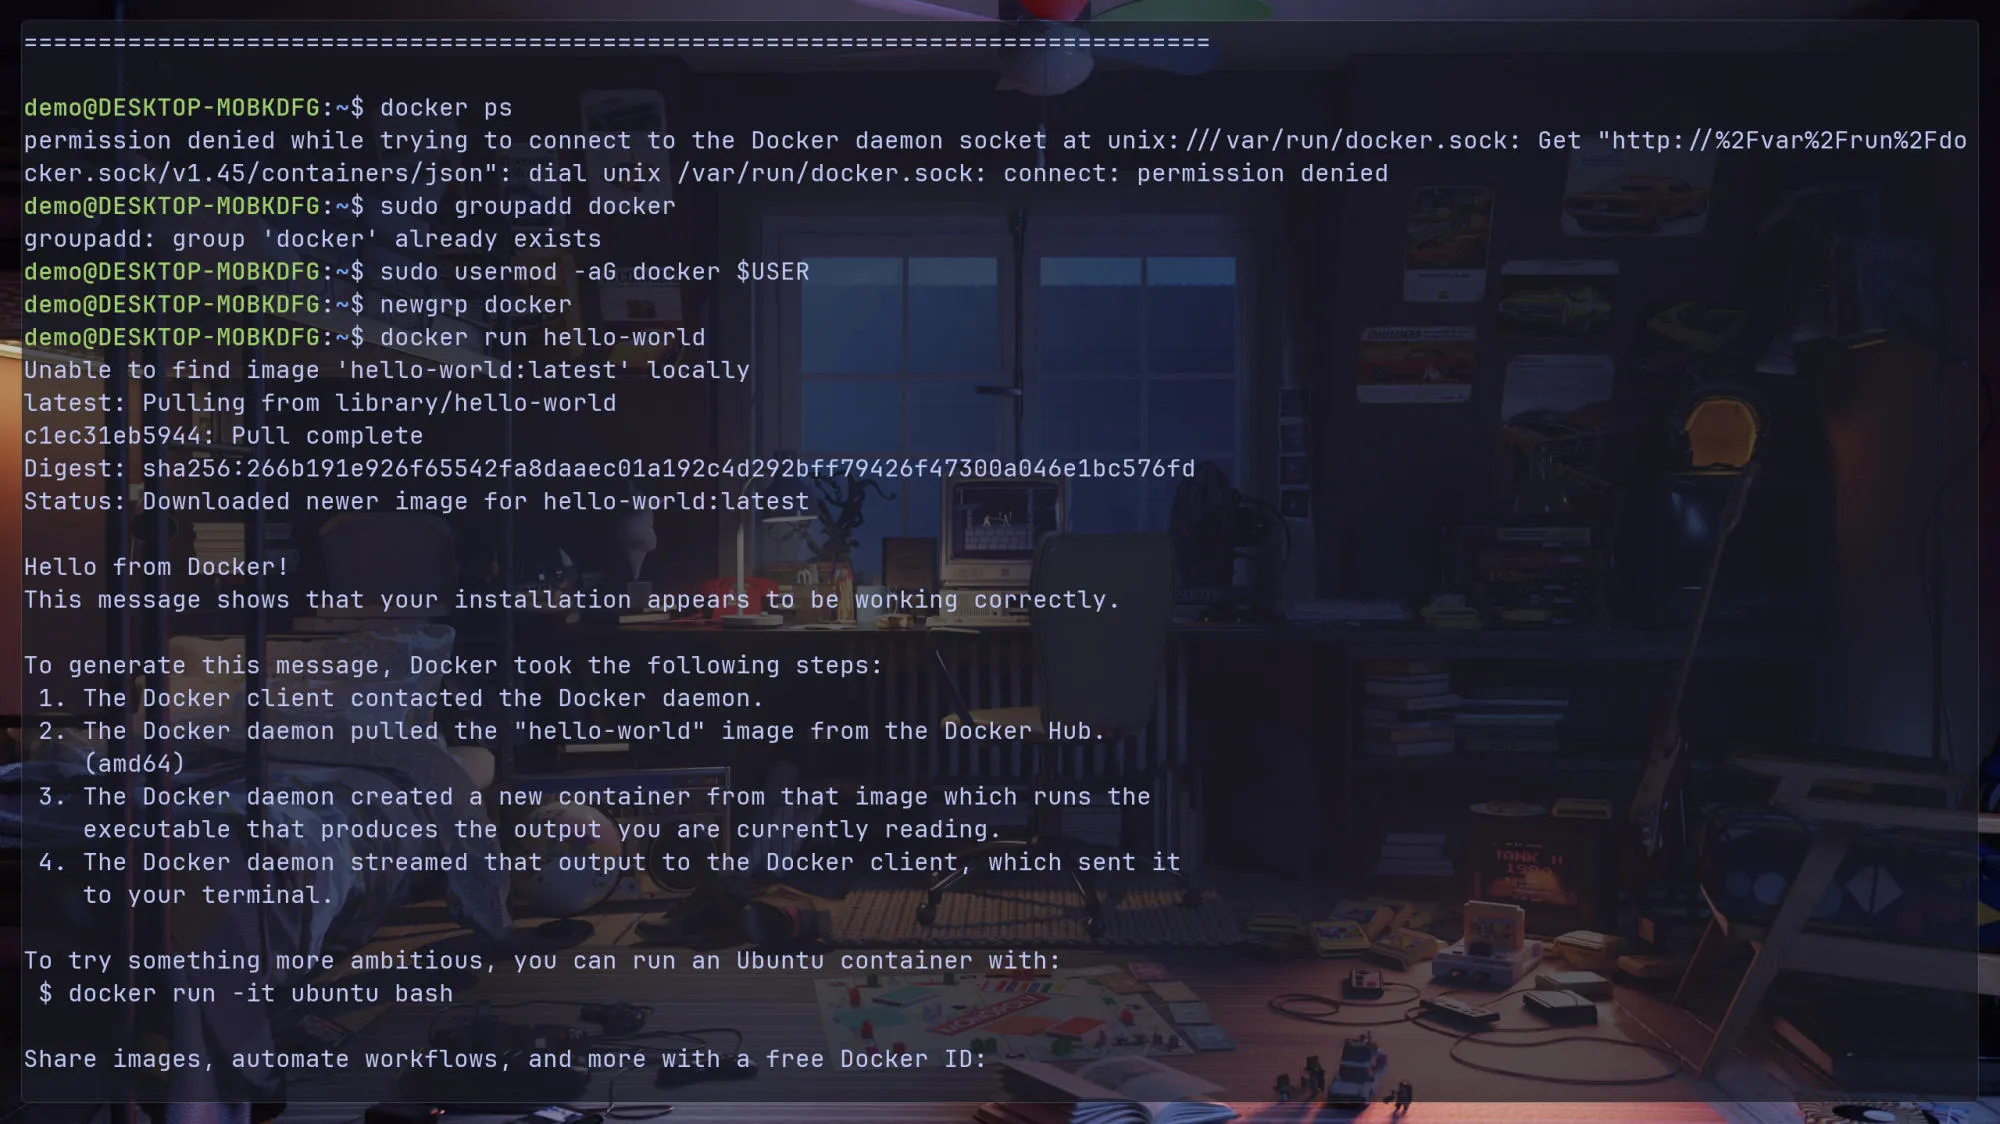
Let’s test by running the hello-world image. It should work like this picture:
Now, we can pull Arch Linux and then export it to a tar file so we can use it with WSL.
docker run -it --name arch archlinux sh -c "exit"
docker export arch > /tmp/arch.tar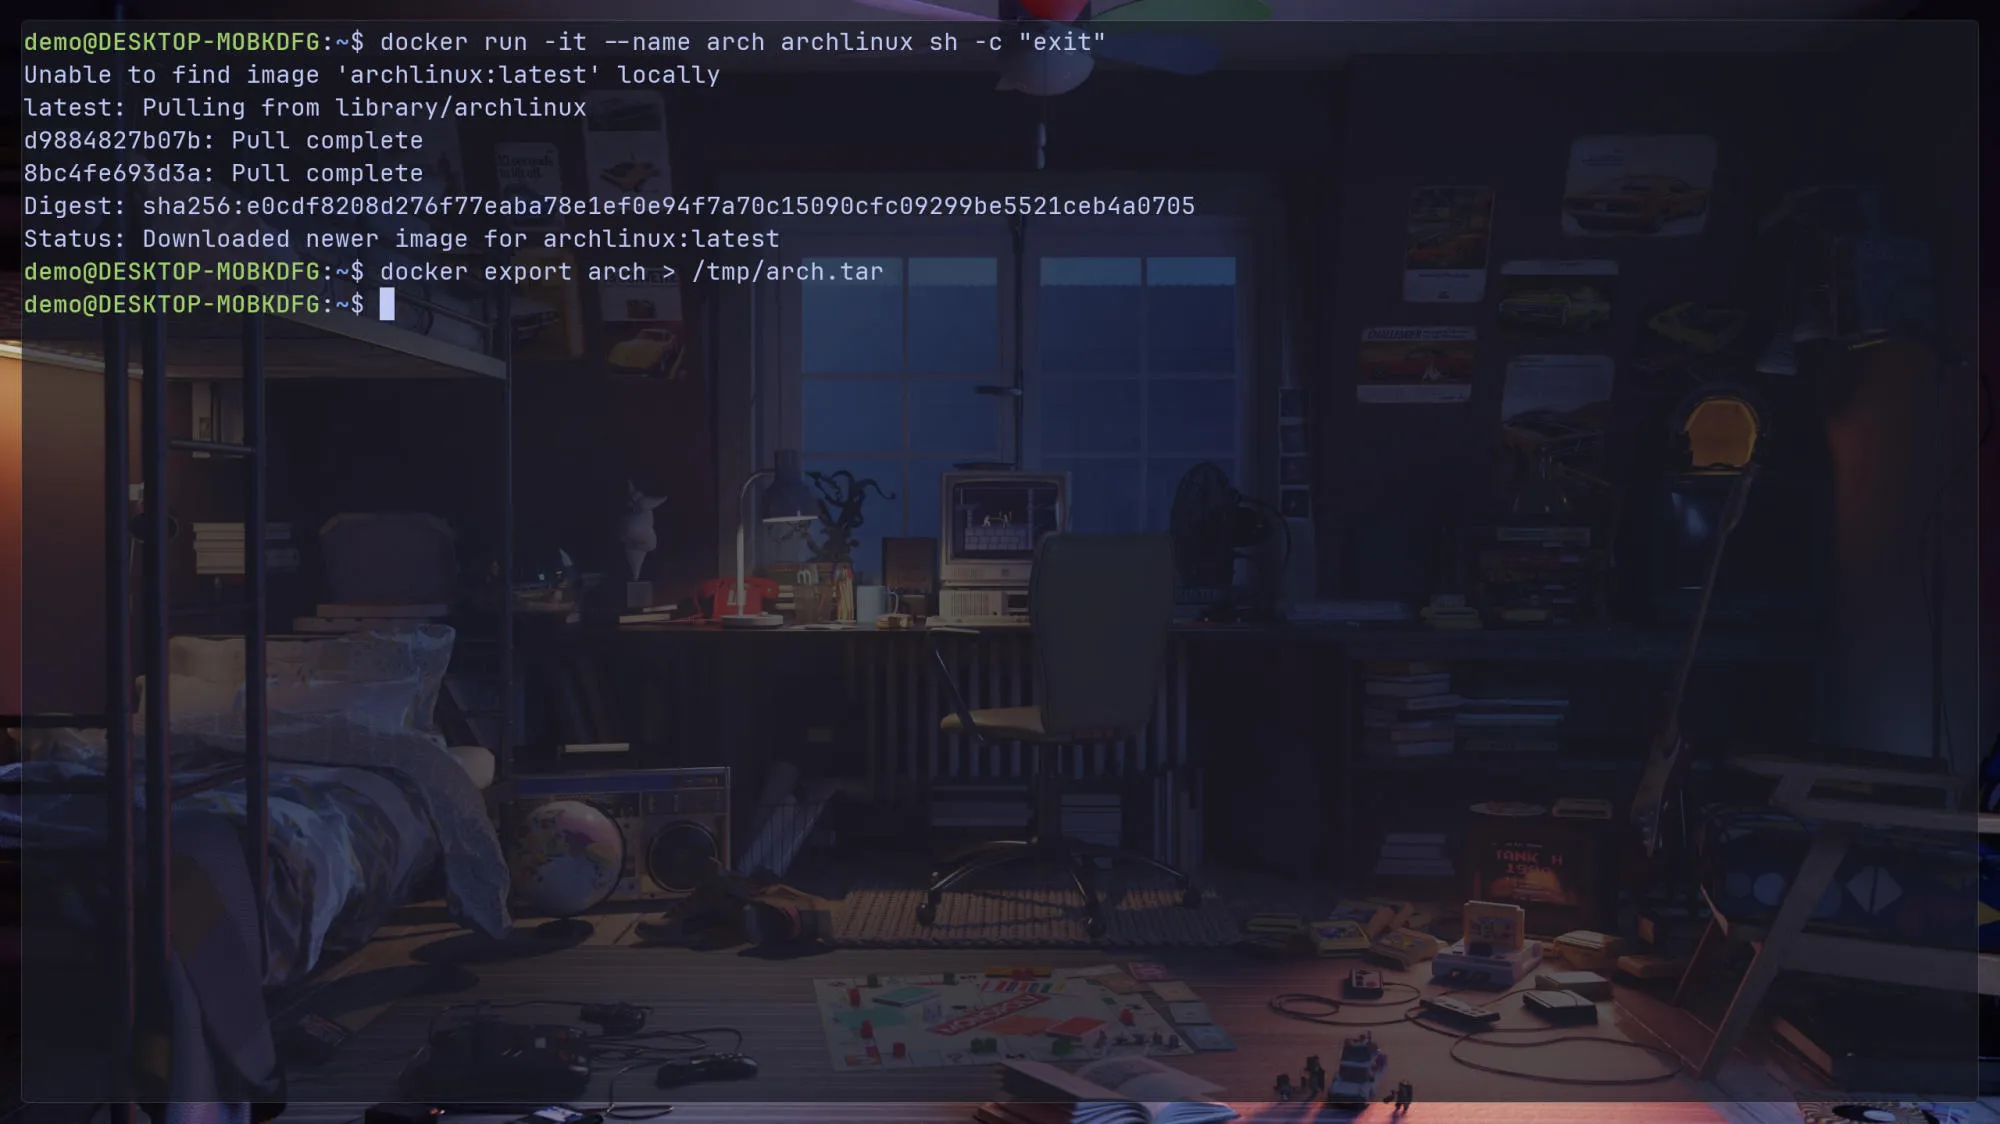
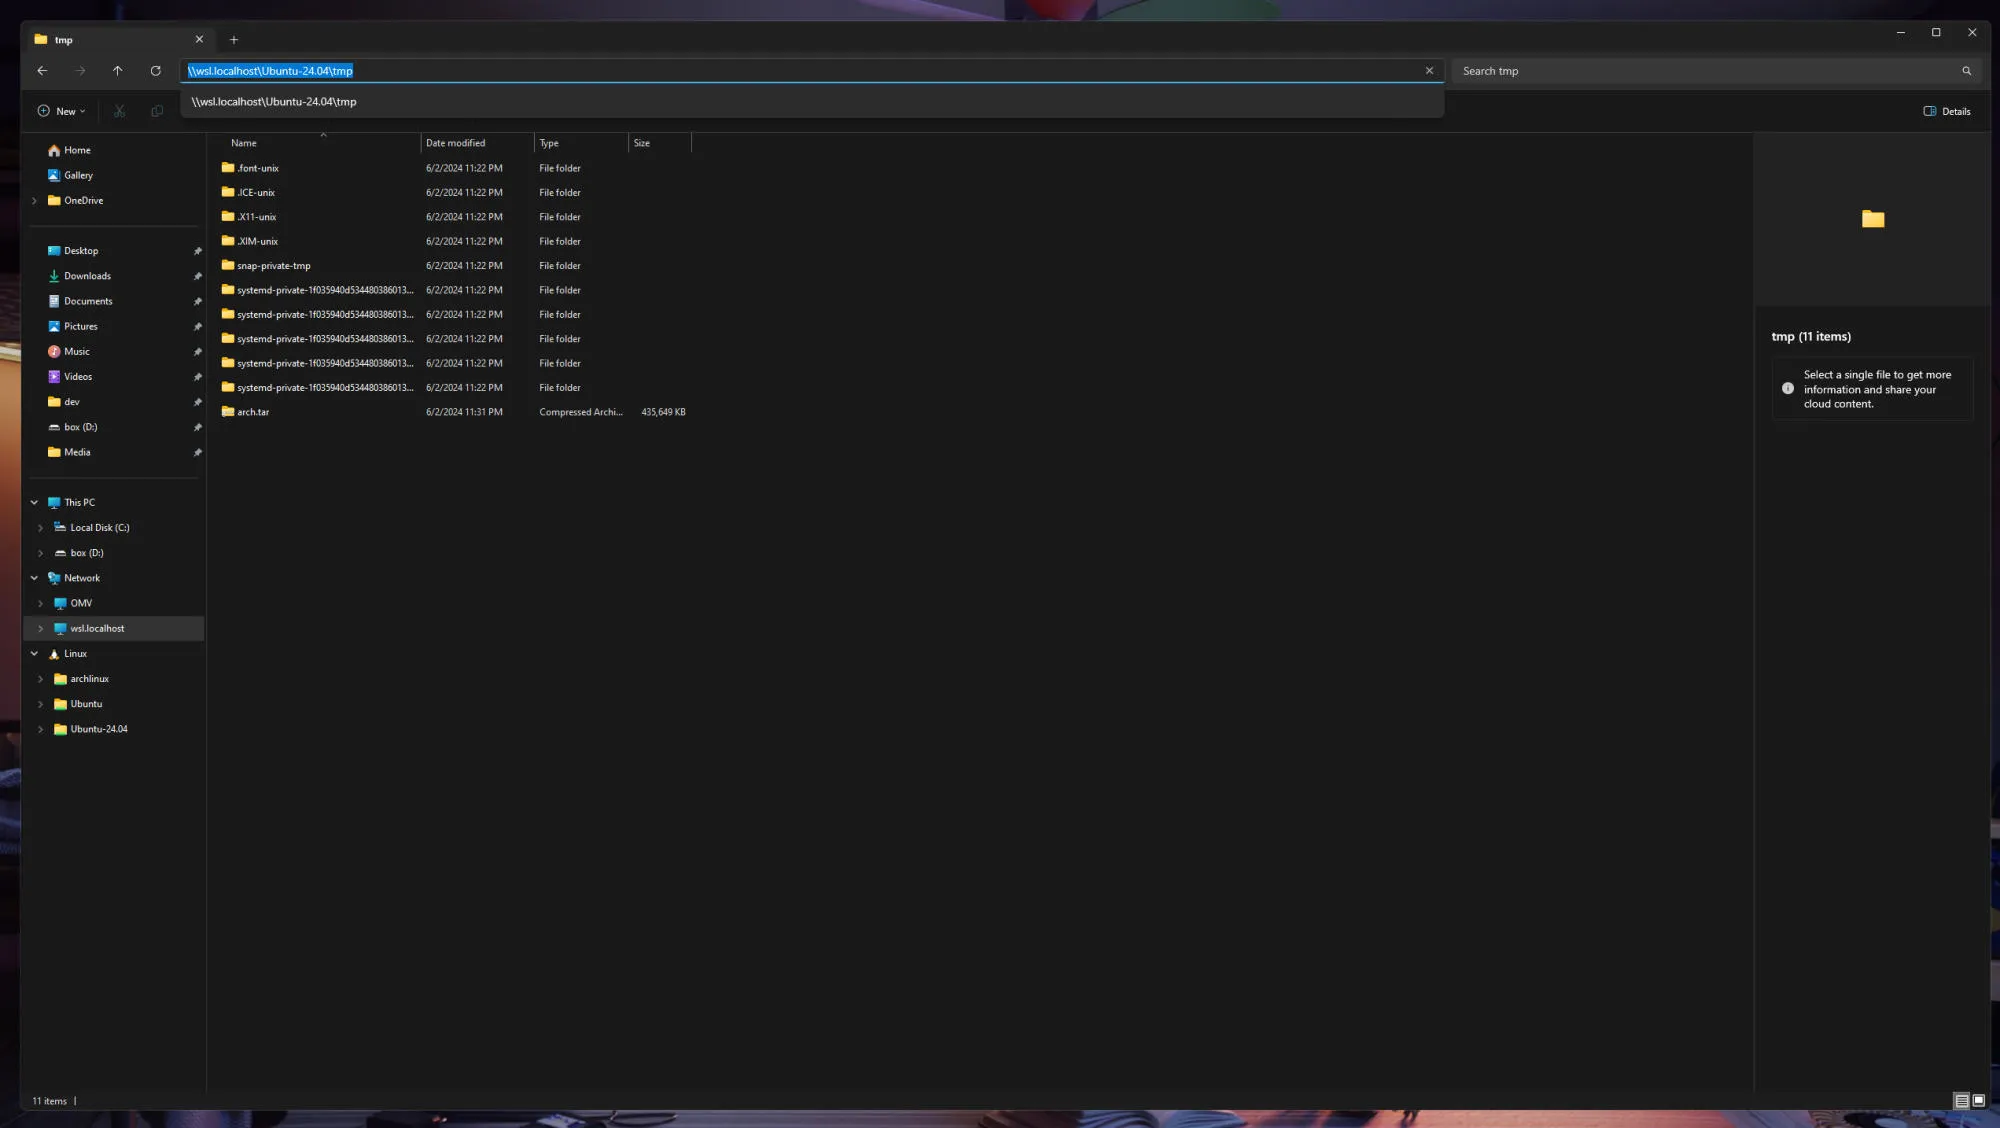
Navigate to \\wsl.localhost\Ubuntu-24.04\tmp to see the arch.tar file we exported.
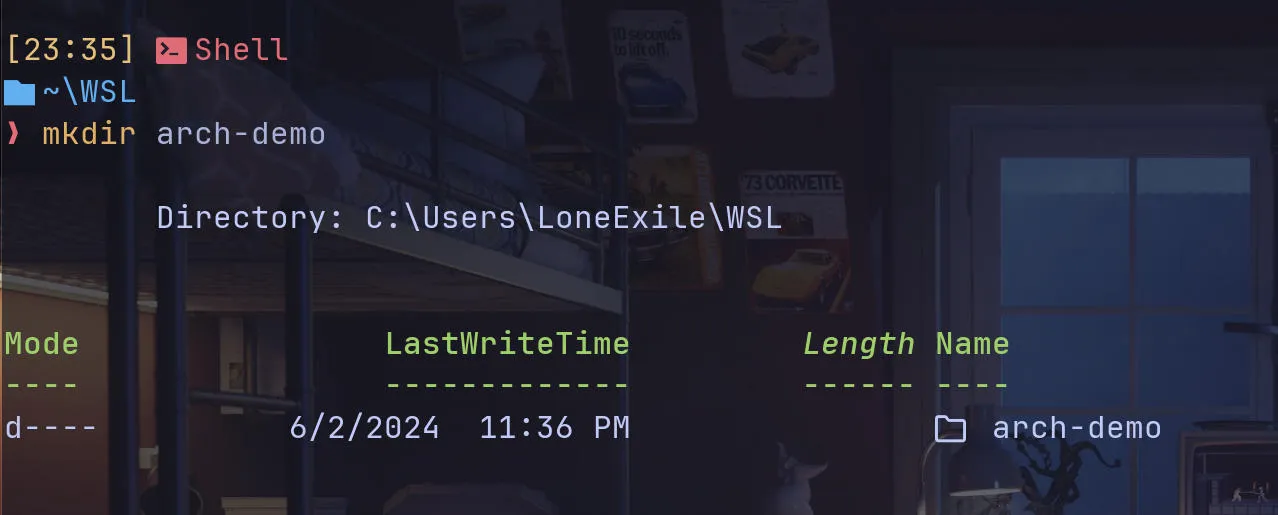
Create a directory where you want to store WSL. Mine is C:\Users\LoneExile\WSL.
Now we can import it.
wsl --import arch-demo C:\Users\<YOUR_USER>\WSL\arch-demo\ \\wsl.localhost\Ubuntu-24.04\tmp\arch.tar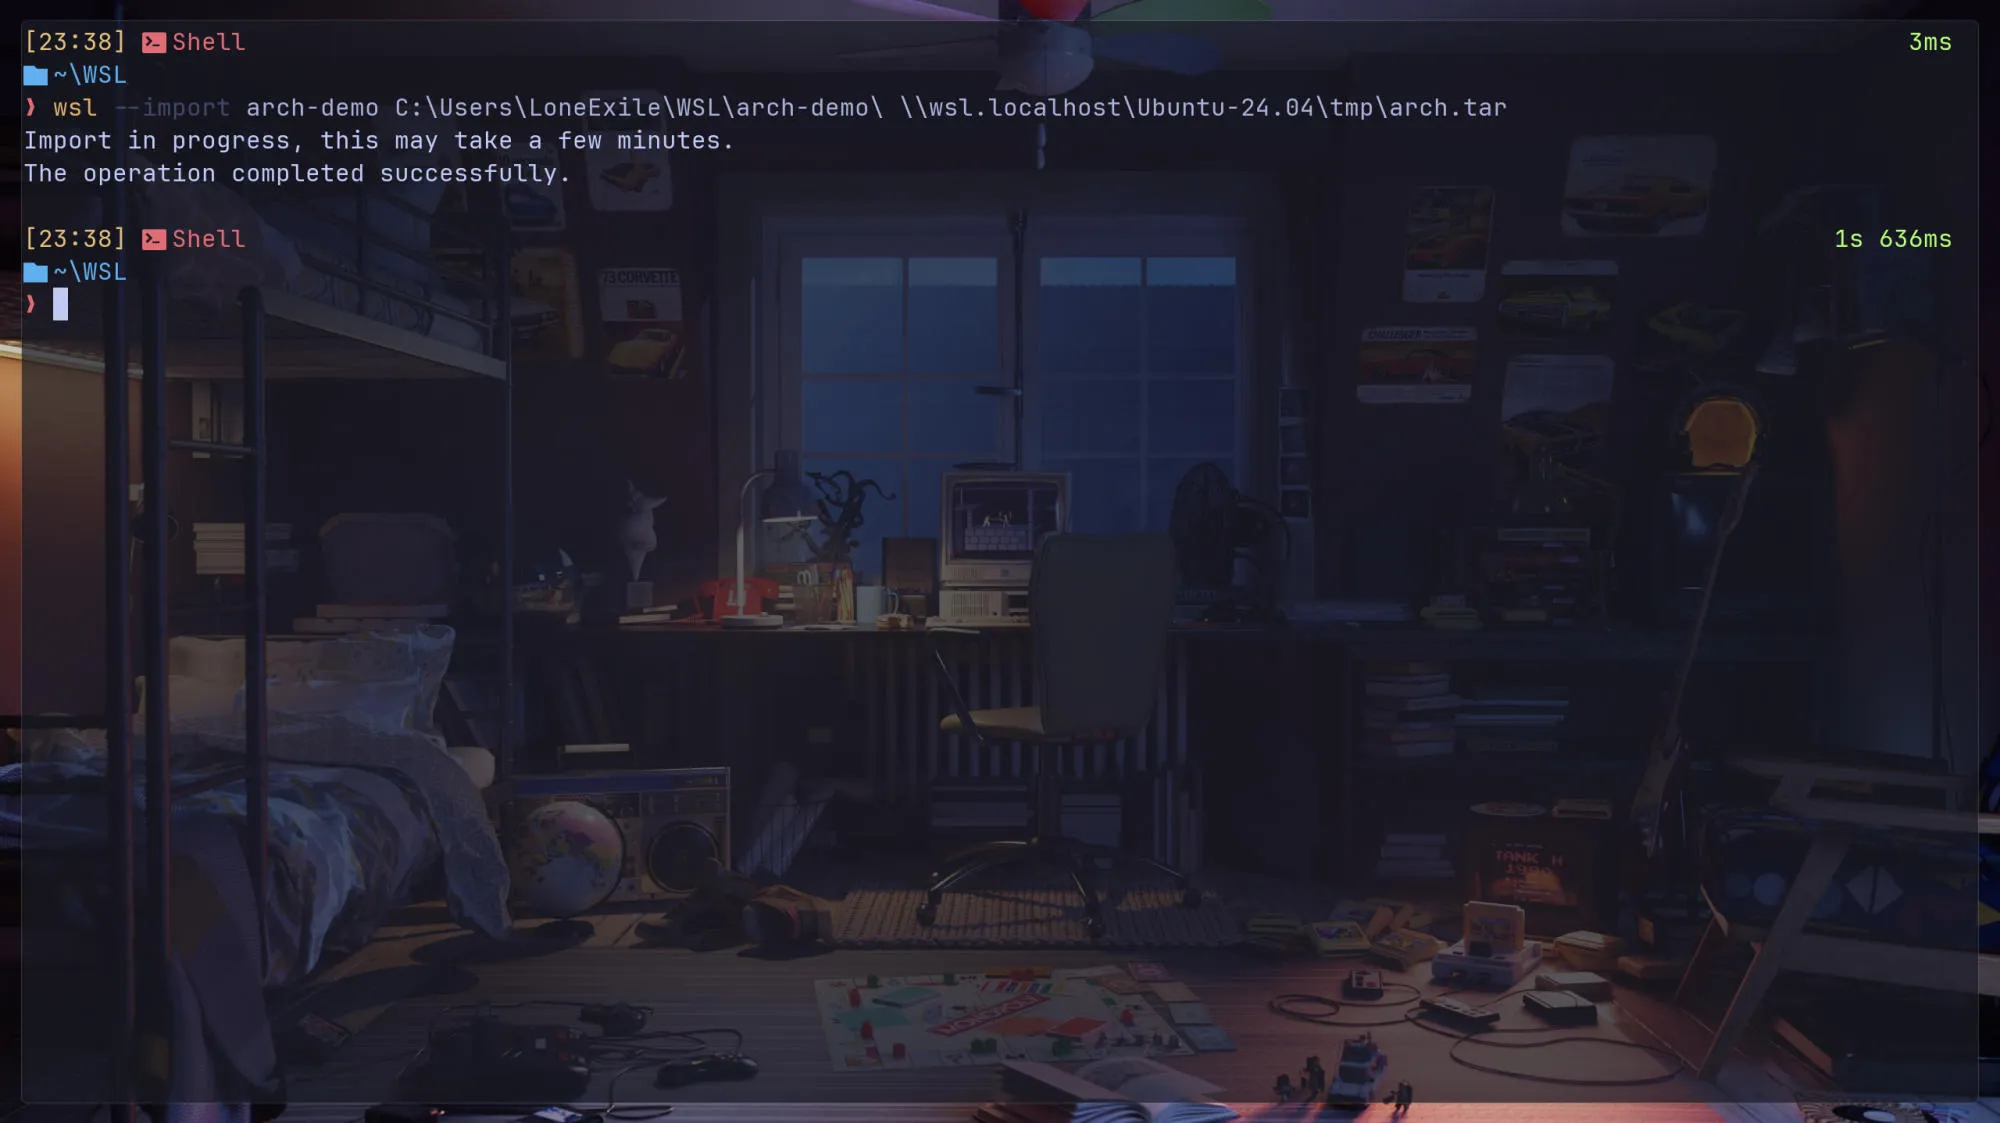
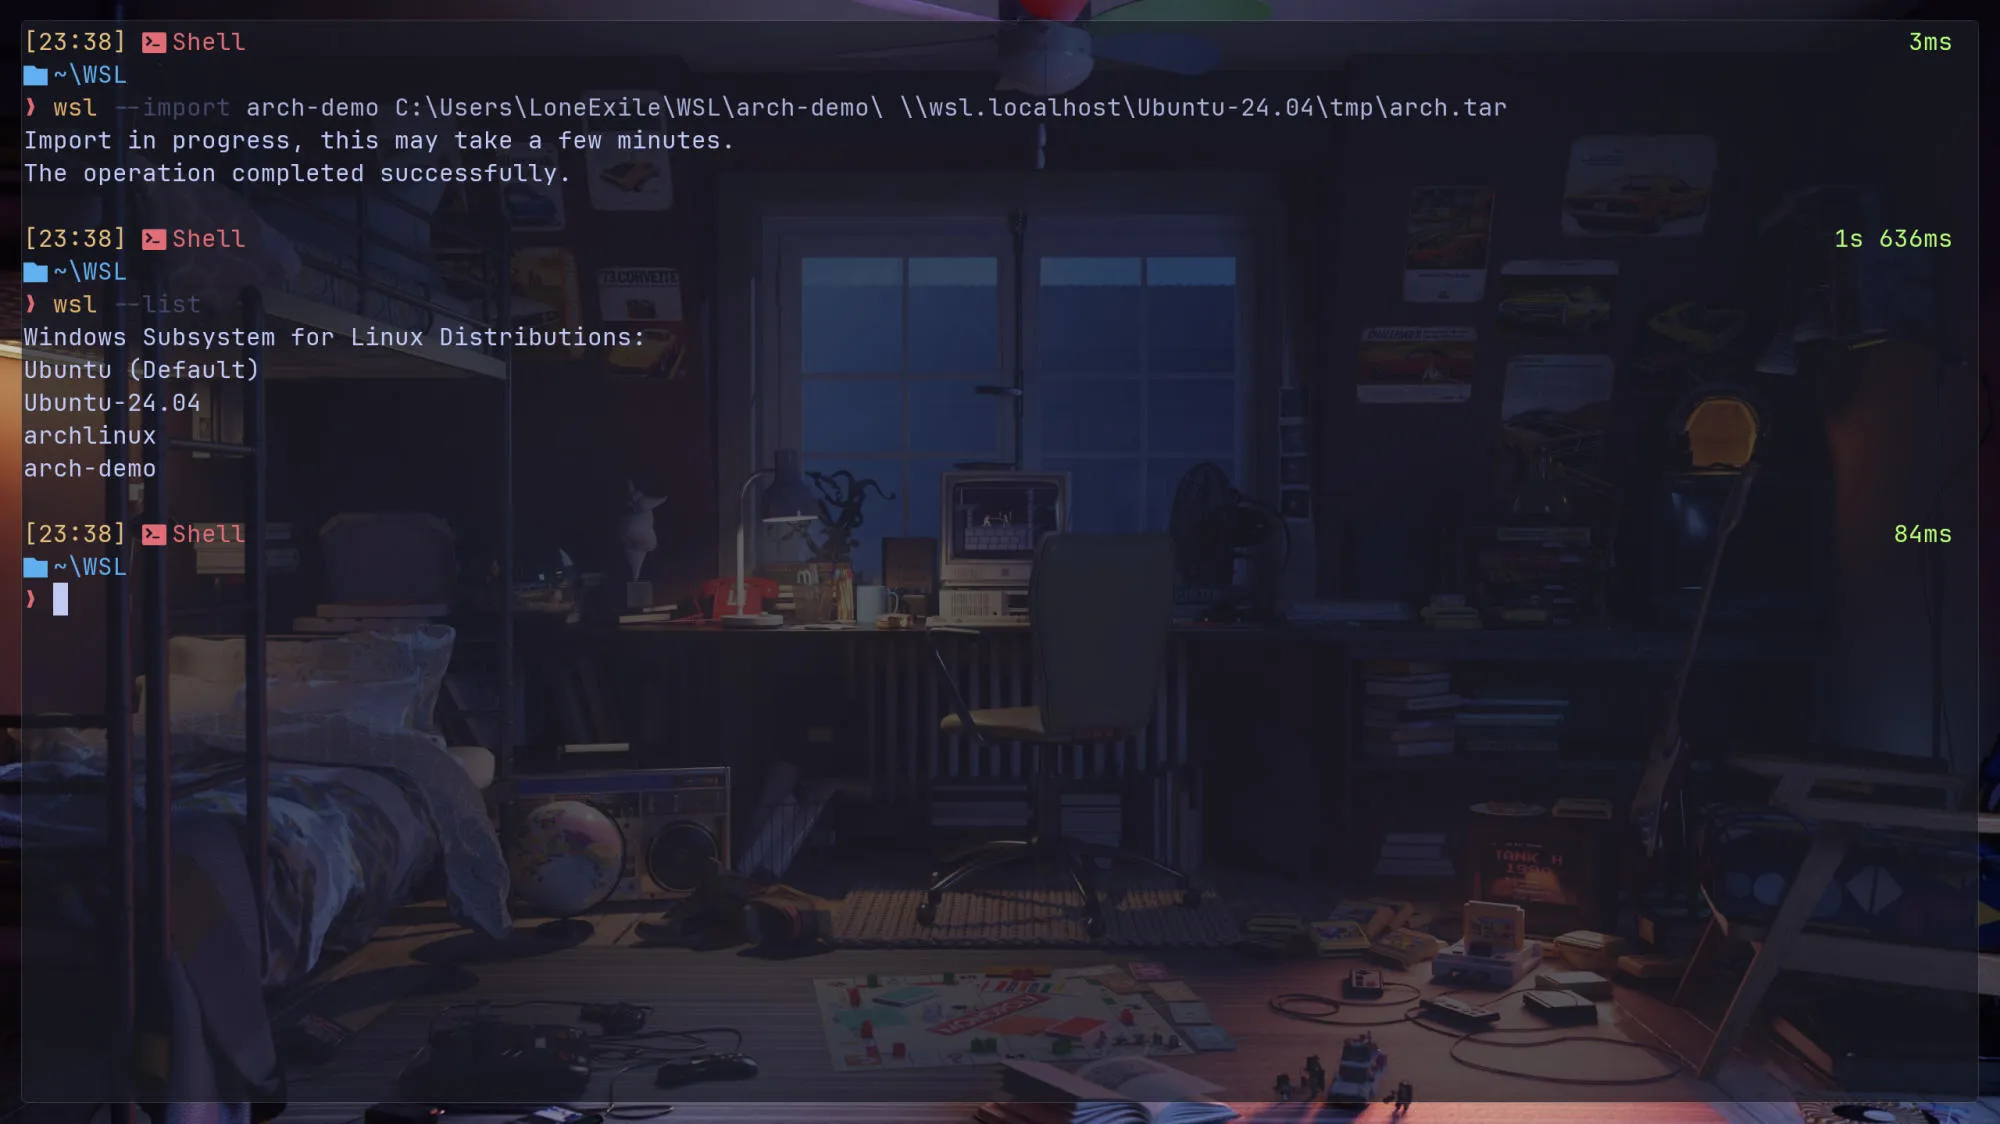
wsl --listYou can see it in the list now 🎉
Before we start using it, we need to initialize the pacman keyring.
wsl -d arch-demoThe command pacman-key --init in Arch Linux is used to initialize the pacman keyring. The keyring is a collection of cryptographic keys used by pacman, the package manager in Arch Linux, to verify the integrity and authenticity of packages.
pacman-key --init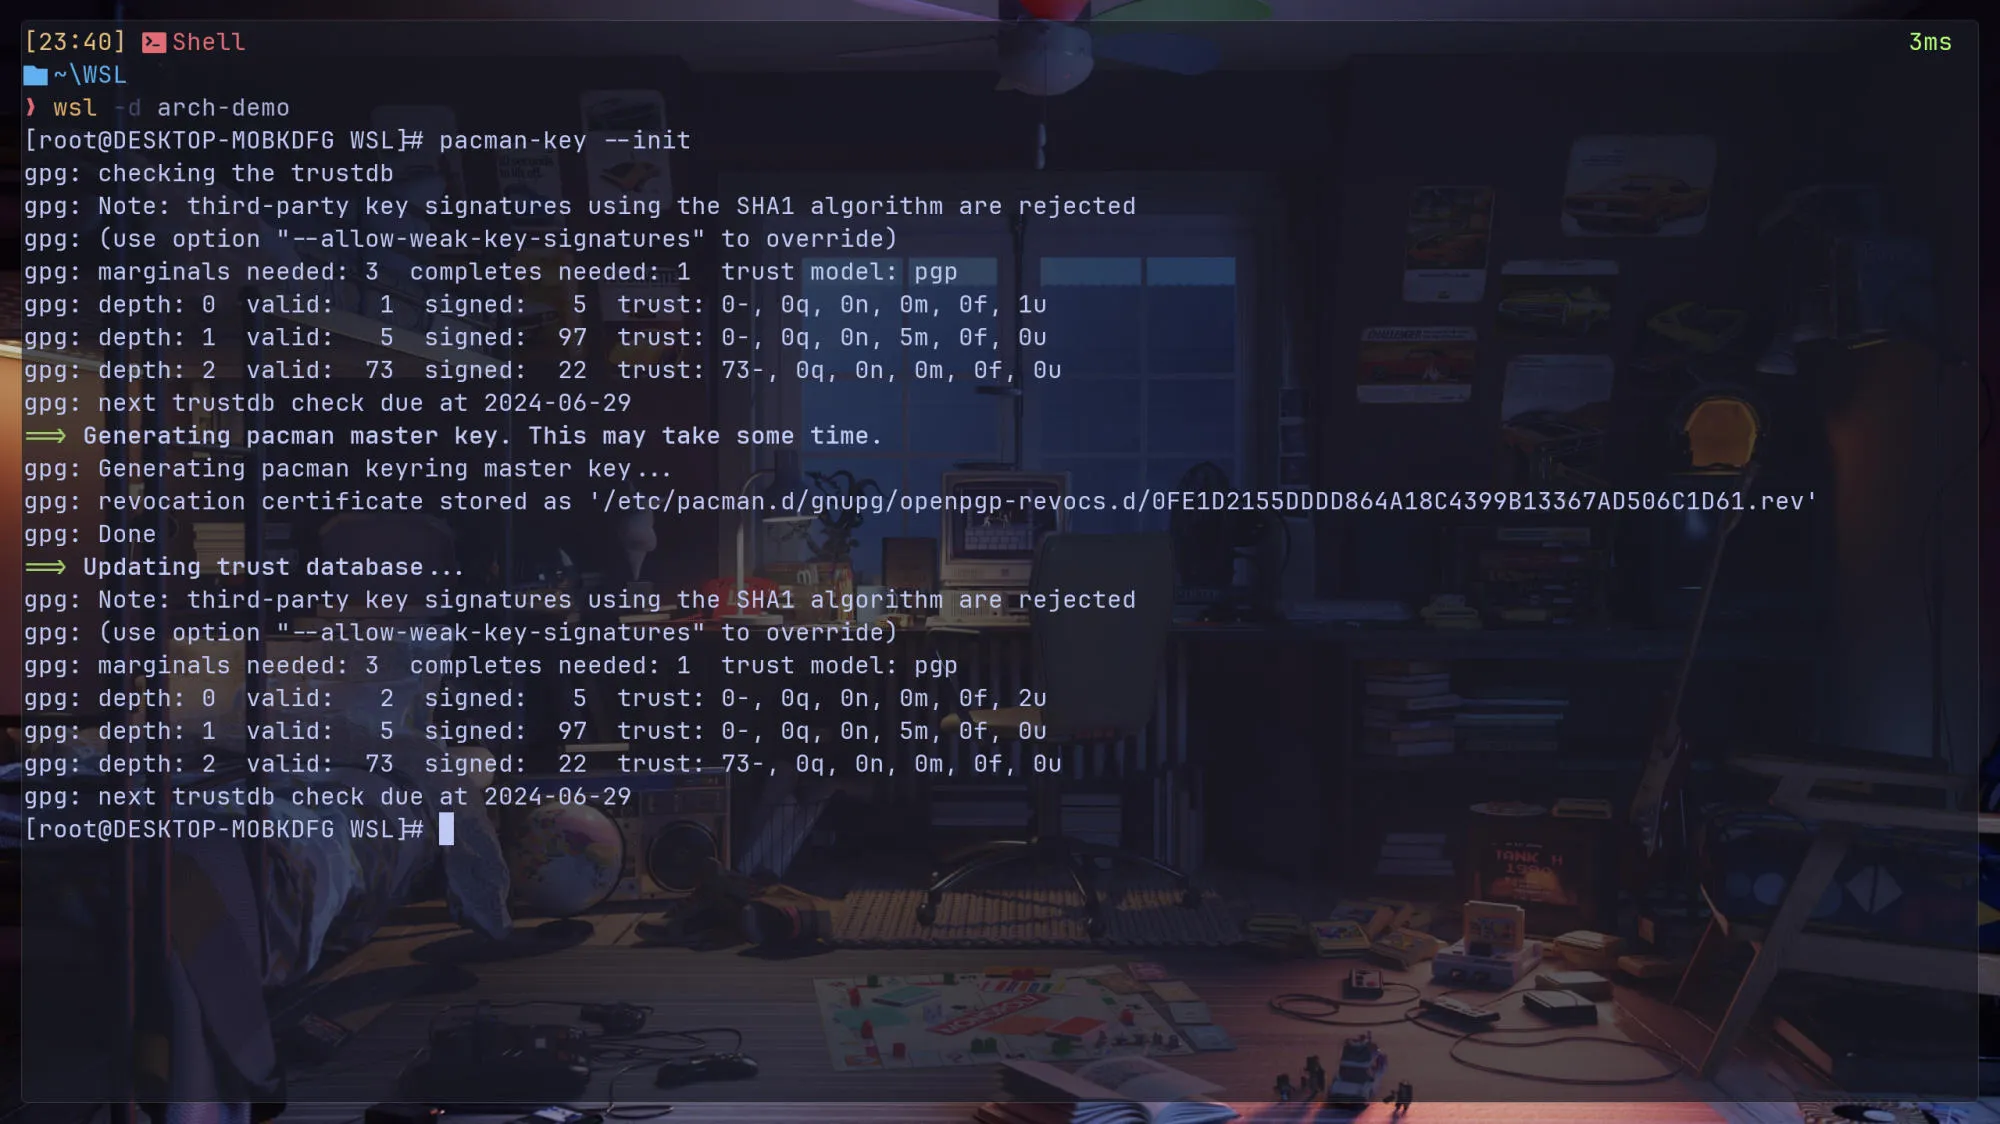
Next, add the username and password that you want to use. Mine is le.
useradd -m -G wheel le
passwd le
pacman -Syyu # update package
pacman -Syu sudo vim git curl # install packages
EDITOR=vim visudo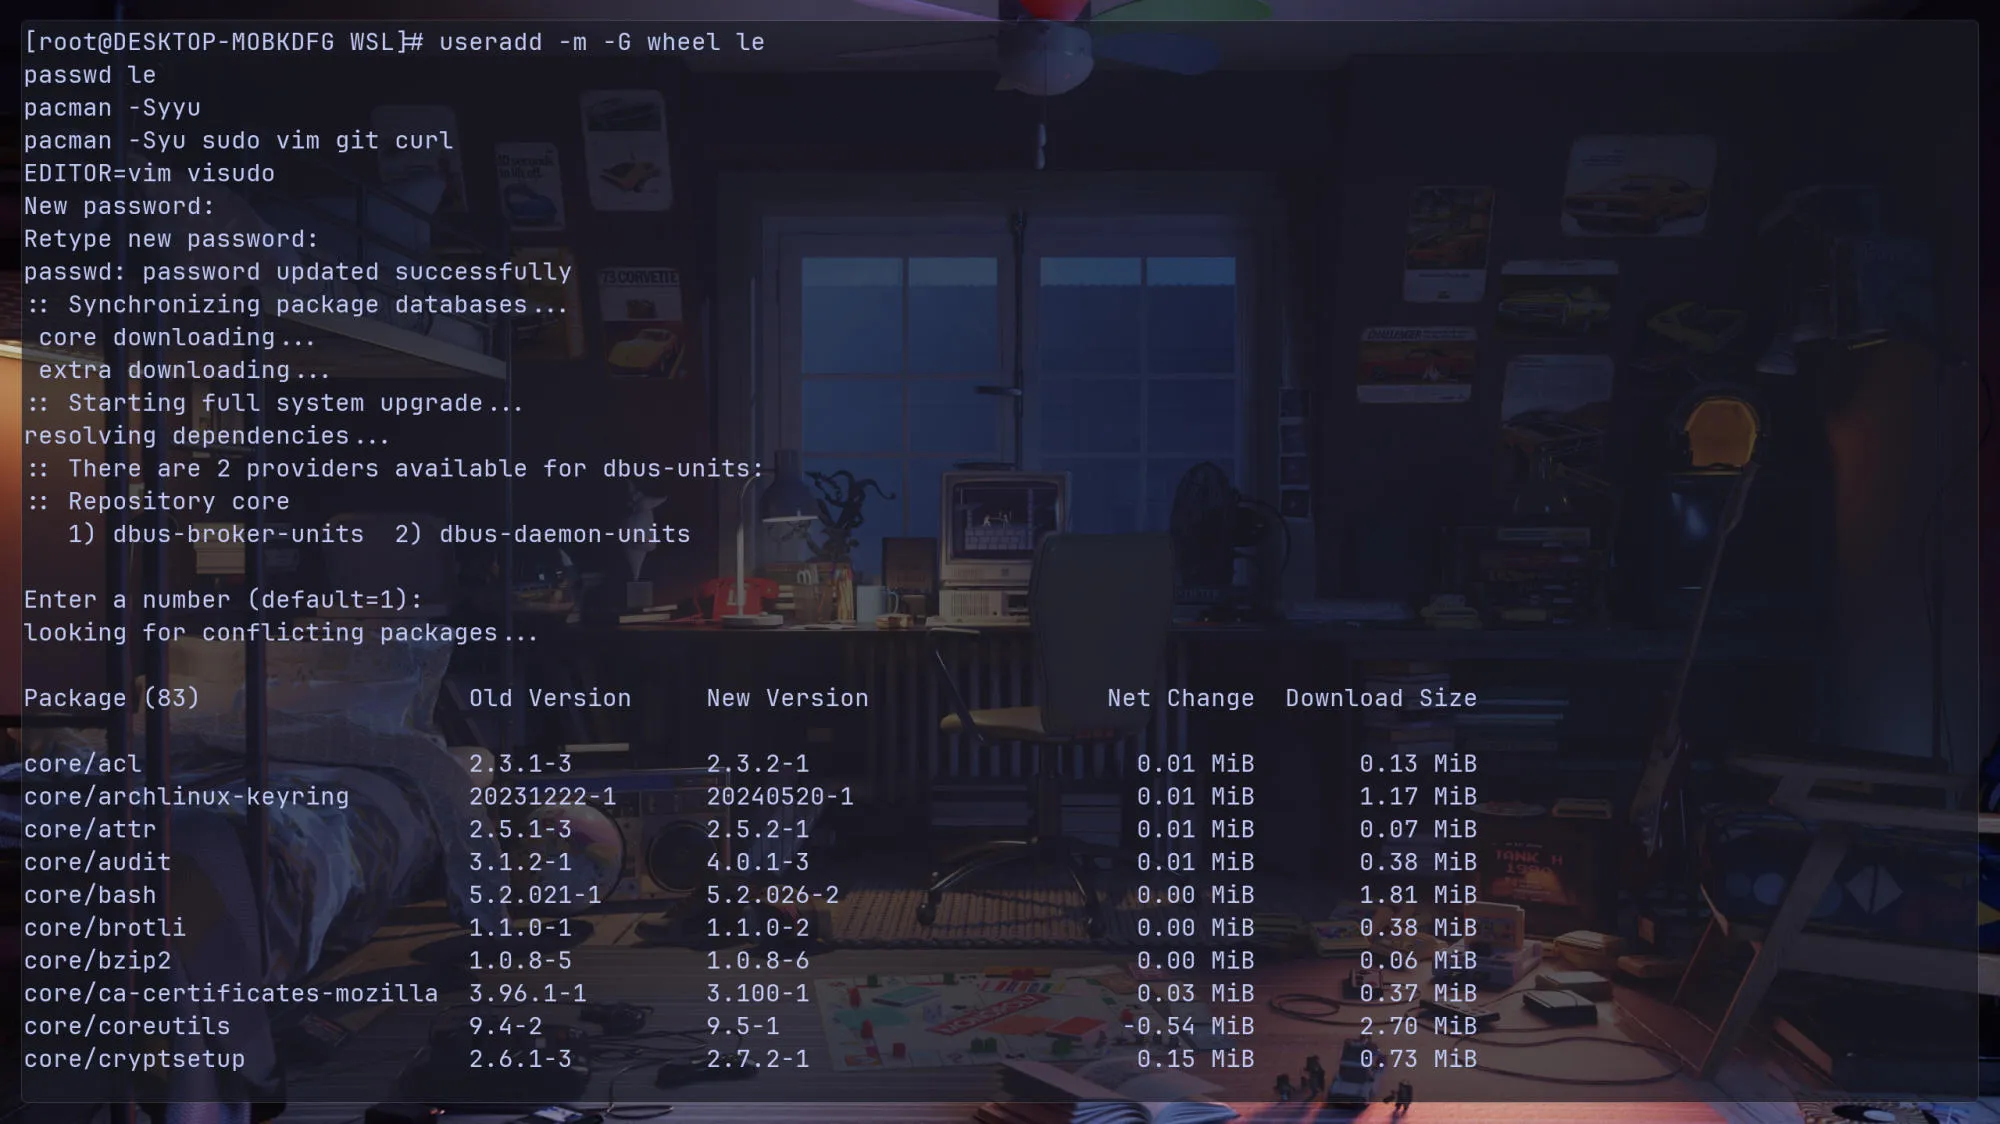
Then uncomment this line %wheel ALL=(ALL:ALL) ALL.
This line allows all users in the wheel group to execute any command as any user or group using sudo.
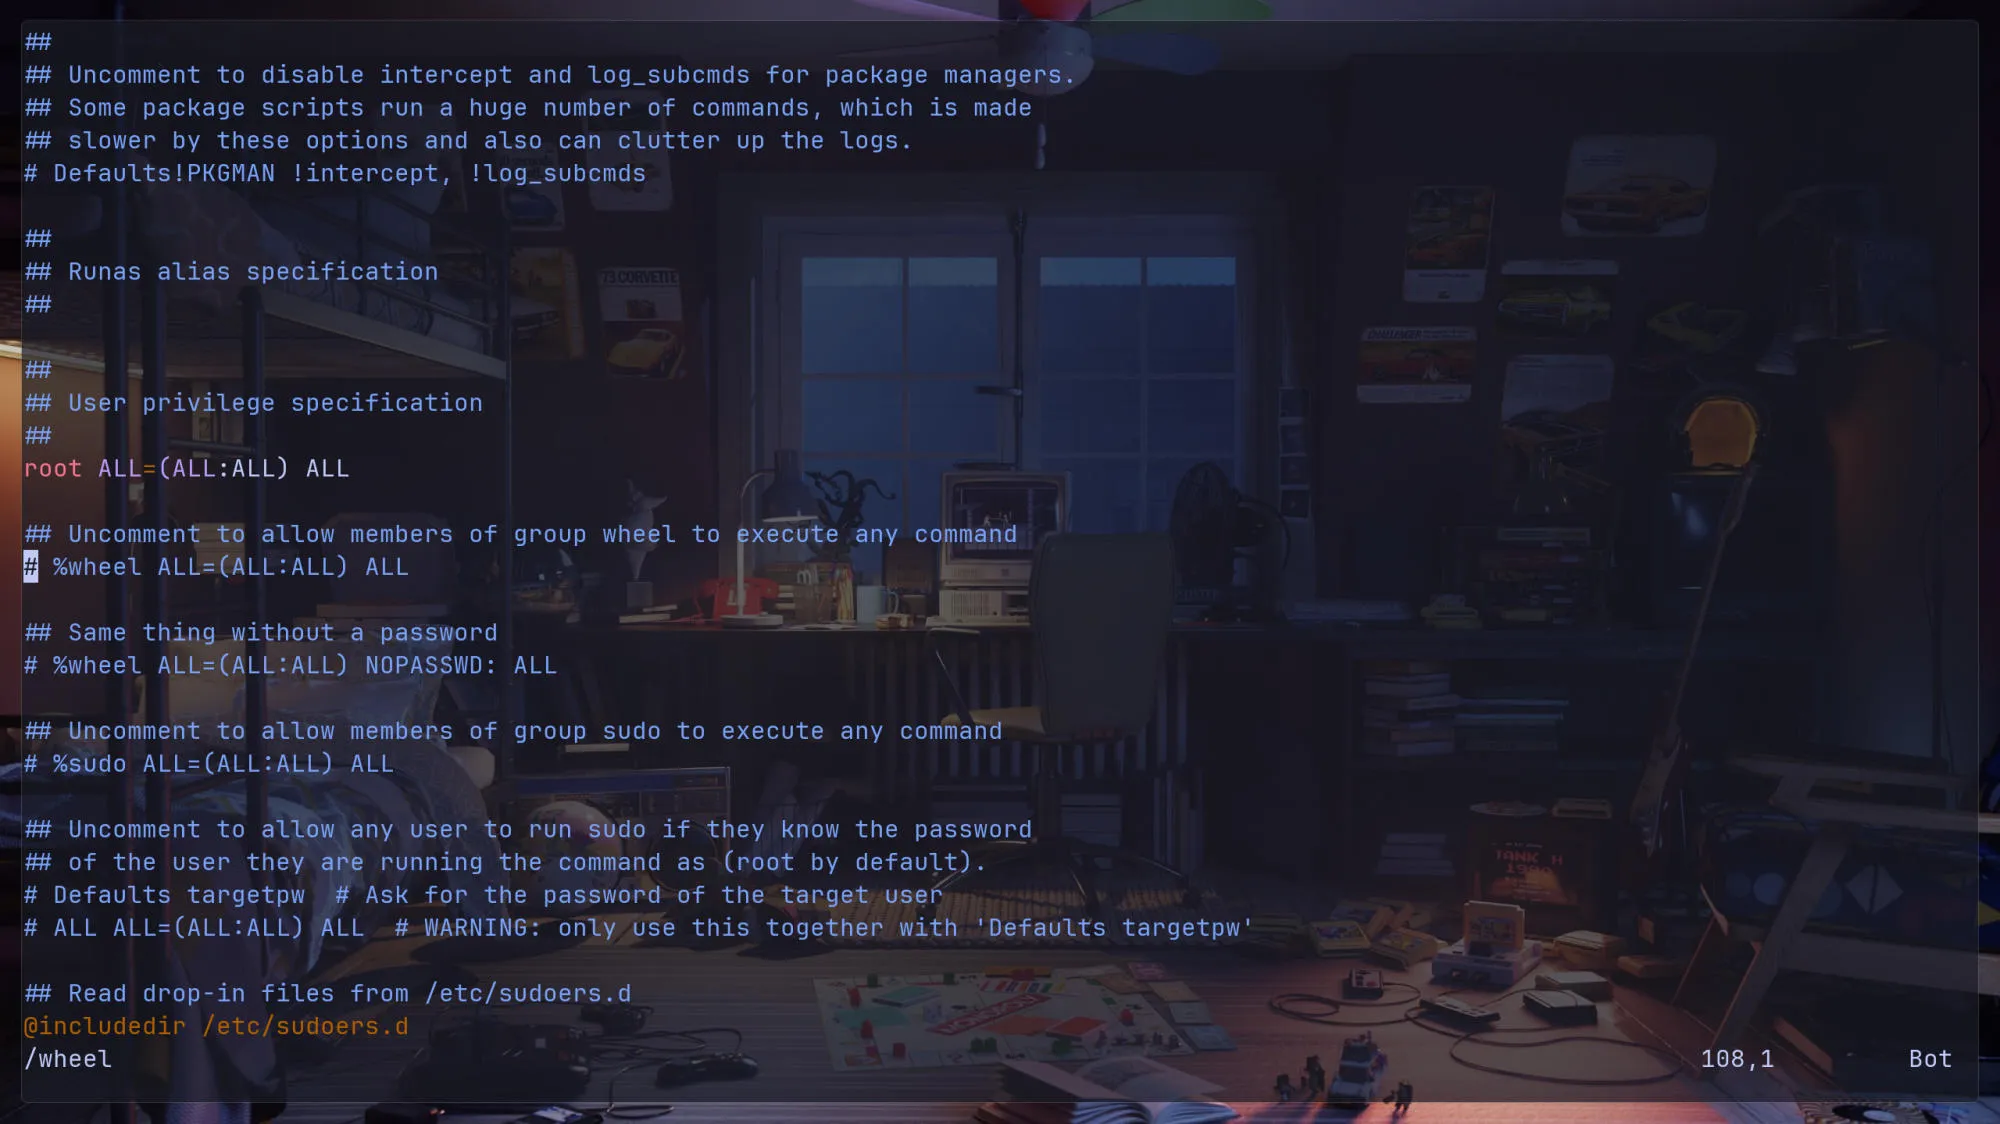
Now we can exit and then log in to the user we created.
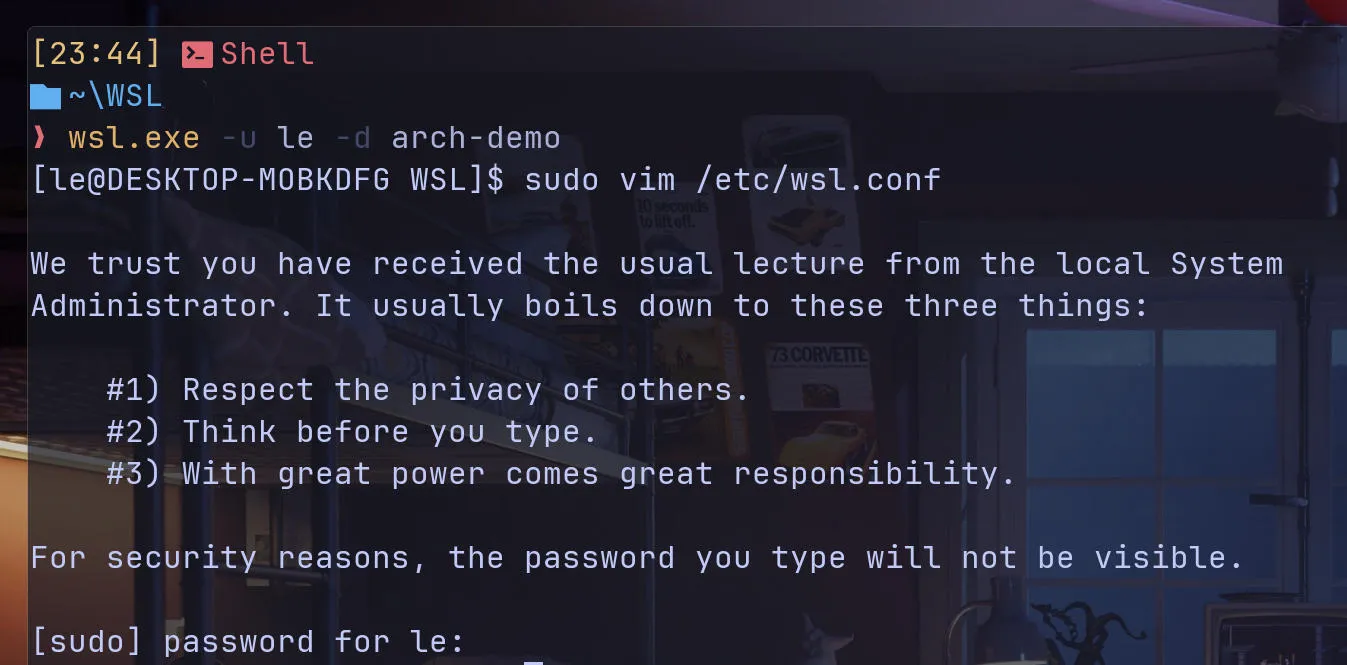
Now edit this file /etc/wsl.conf.
systemd=true: This setting enables the use ofsystemdas the init system for your WSL distribution.generateResolvConf = false: This setting prevents WSL from automatically generating theresolv.conffile.default=<YOUR_USER>: This setting specifies the default user that will be logged in when you start a WSL session.
sudo vim /etc/wsl.conf[boot]
systemd=true
[network]
generateResolvConf = false
[user]
default=<YOUR_USER>
Then shut down your WSL.
Edit the .wslconfig file at C:\Users\<YOUR_USER>\.wslconfig. (Reference)
# Settings apply across all Linux distros running on WSL 2
[wsl2]

# Limits VM memory to use no more than 4 GB, this can be set as whole numbers using GB or MB
memory=32GB

# Sets amount of swap storage space to 8GB, default is 25% of available RAM
swap=8GB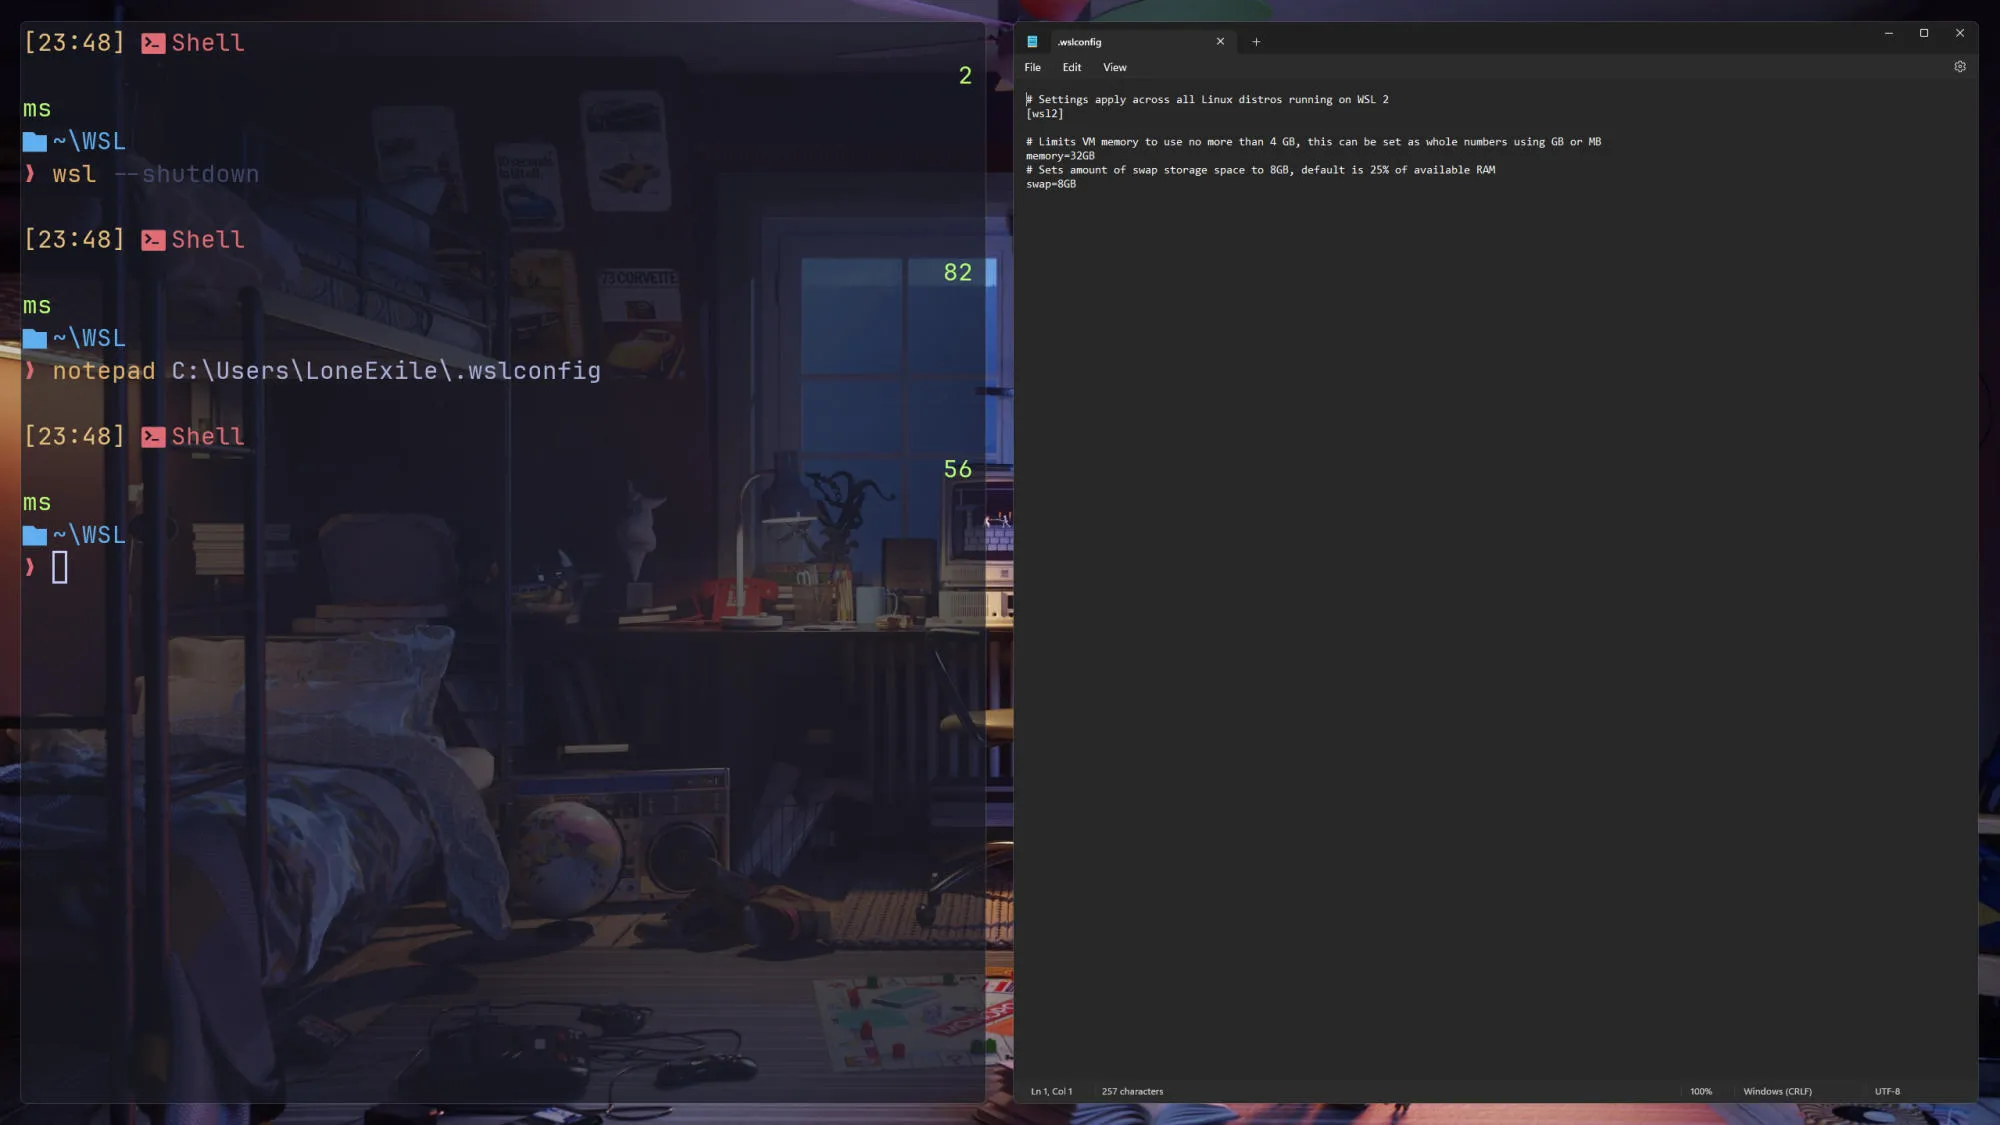
Log back into the Arch Linux WSL with the command wsl ~ -d archlinux -u le.
Installing archlinux-keyring is important to ensure that your system can verify and trust the packages and updates you download from the Arch Linux repositories.
Test install with the neofetch package:
sudo pacman -S archlinux-keyring
sudo pacman -S neofetch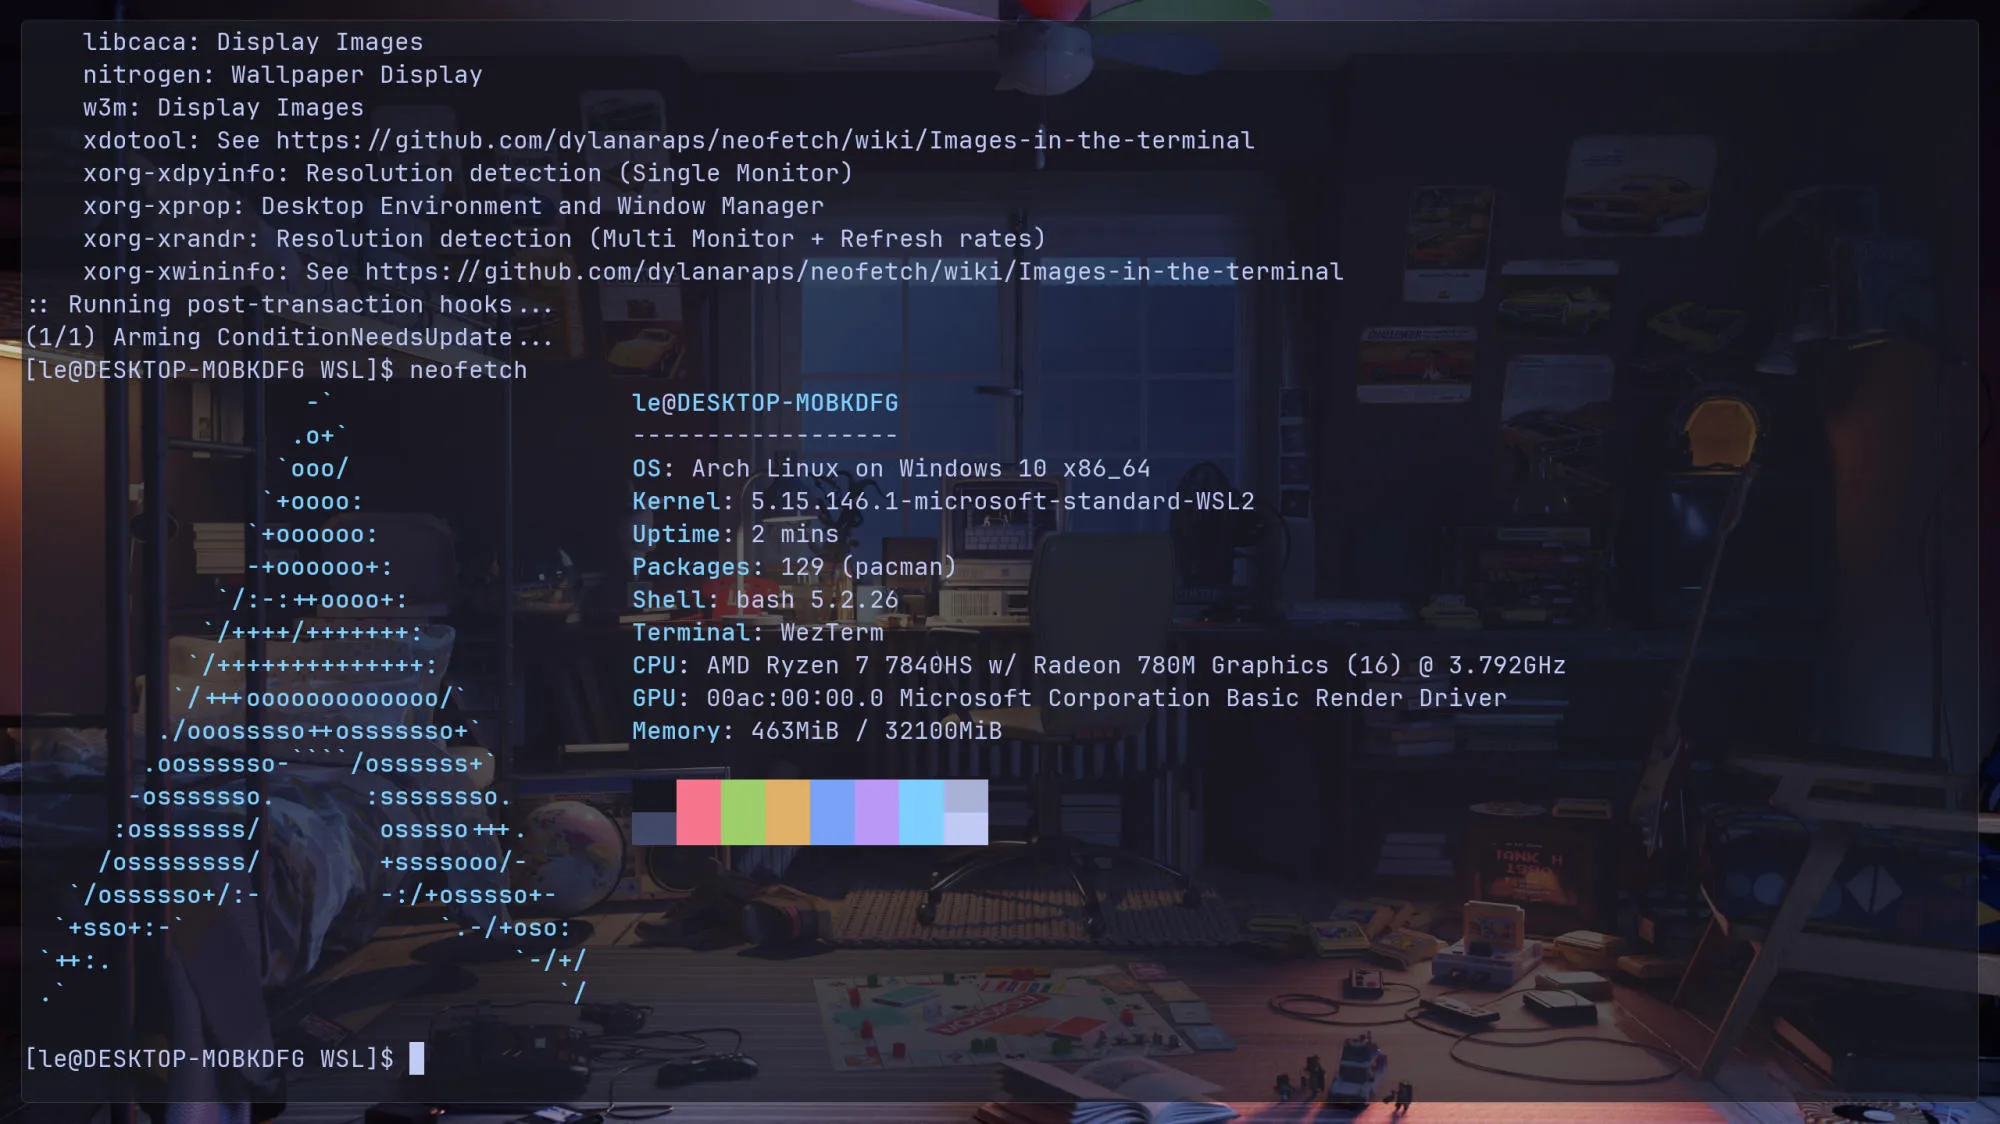
What if we want a GUI application? Let’s try!
pacman -Syu gimp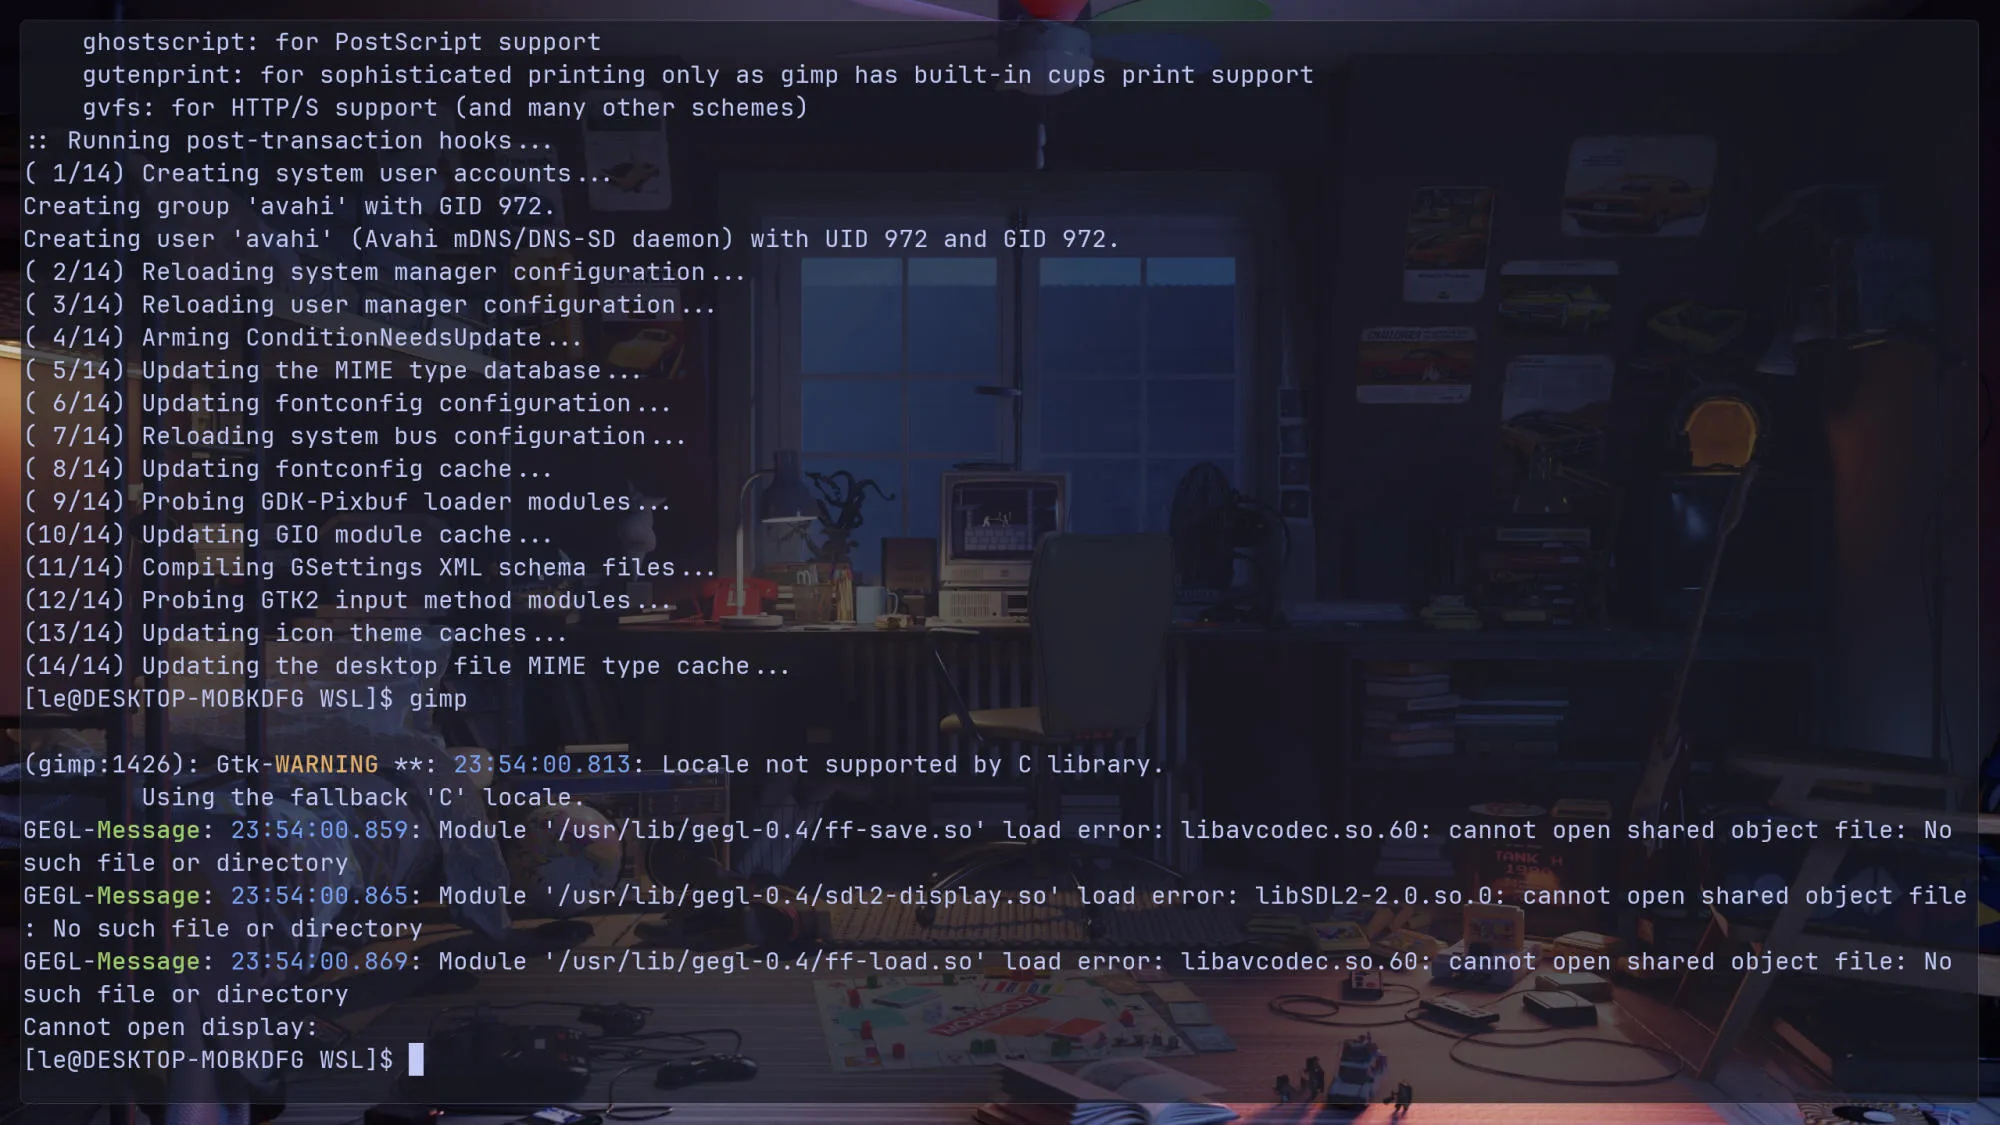
If it doesn’t work, here is the fix:
rmdir /tmp/.X11-unix && ln -s /mnt/wslg/.X11-unix /tmp/.X11-unixThen run it again.
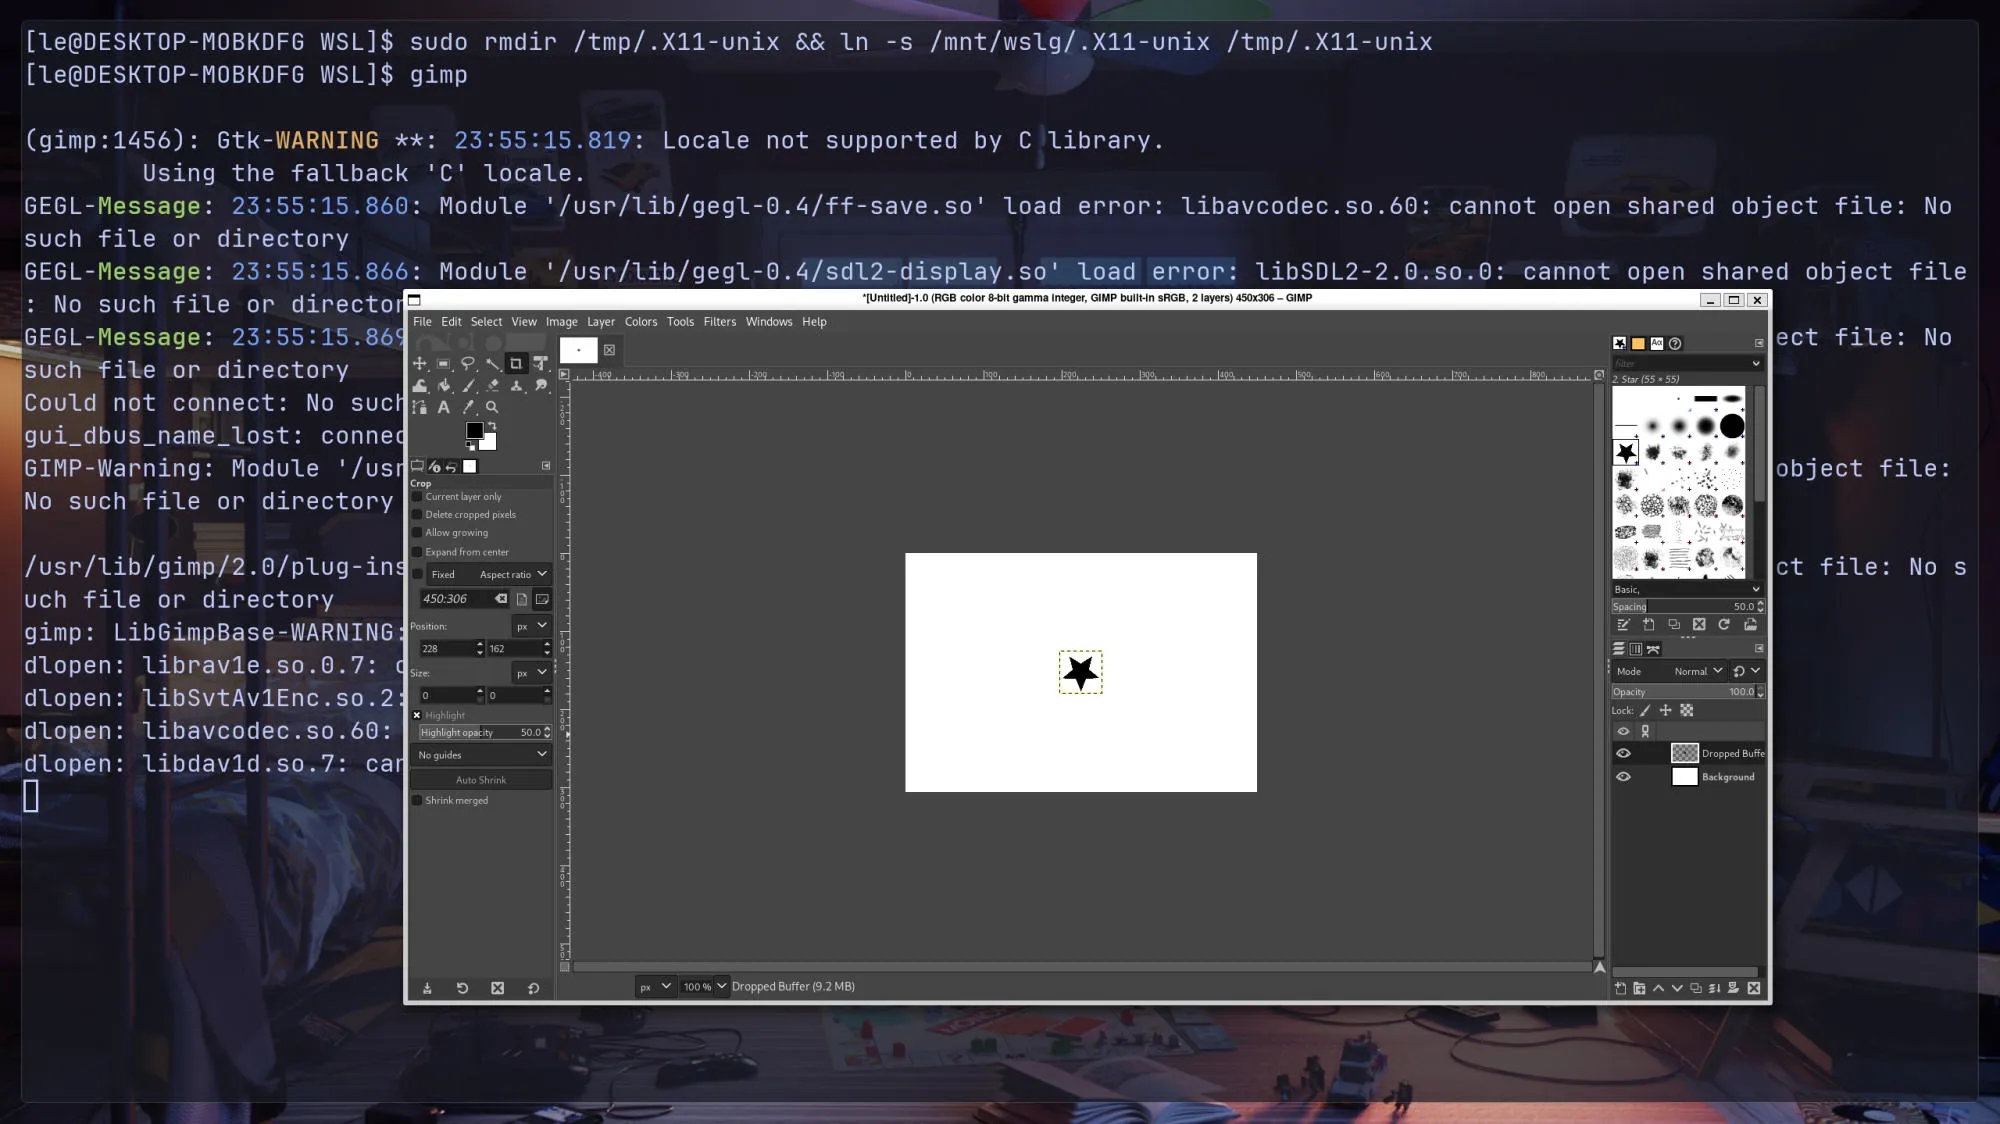
But you need to run that command every time WSL restarts. We can automate it with systemd.
sudo vim /etc/systemd/system/wslg.service[Unit]
Description=symlink /tmp/.X11-unix
After=systemd-tmpfiles-setup.service
[Service]
Type=oneshot
ExecStart=rmdir /tmp/.X11-unix
ExecStart=ln -s /mnt/wslg/.X11-unix /tmp/
[Install]
WantedBy=sysinit.target
systemctl enable wslgWe can link Windows commands to launch applications in Arch Linux as well. Here, I link explorer.exe to Arch Linux as open.
sudo ln -s "/mnt/c/Windows/explorer.exe" "/usr/local/bin/open"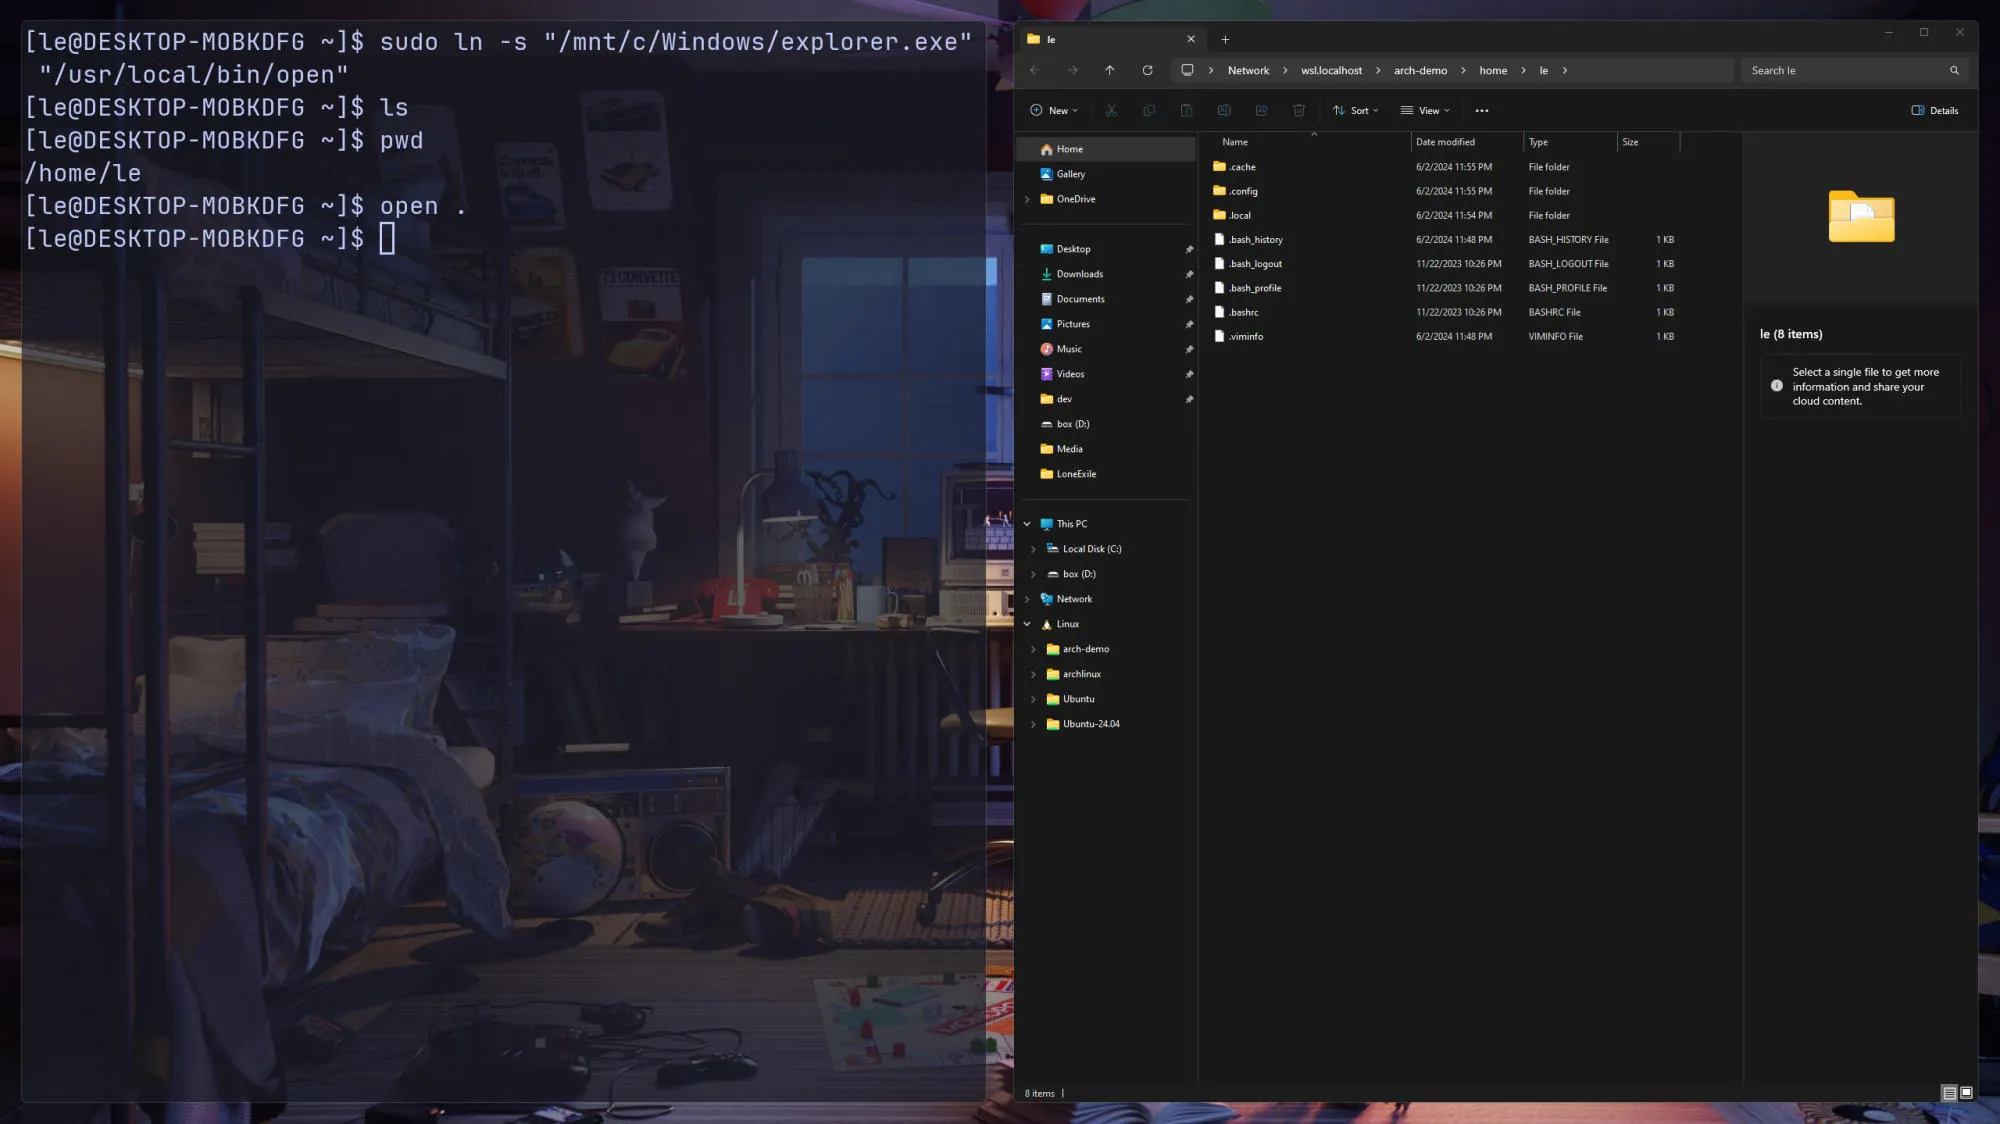
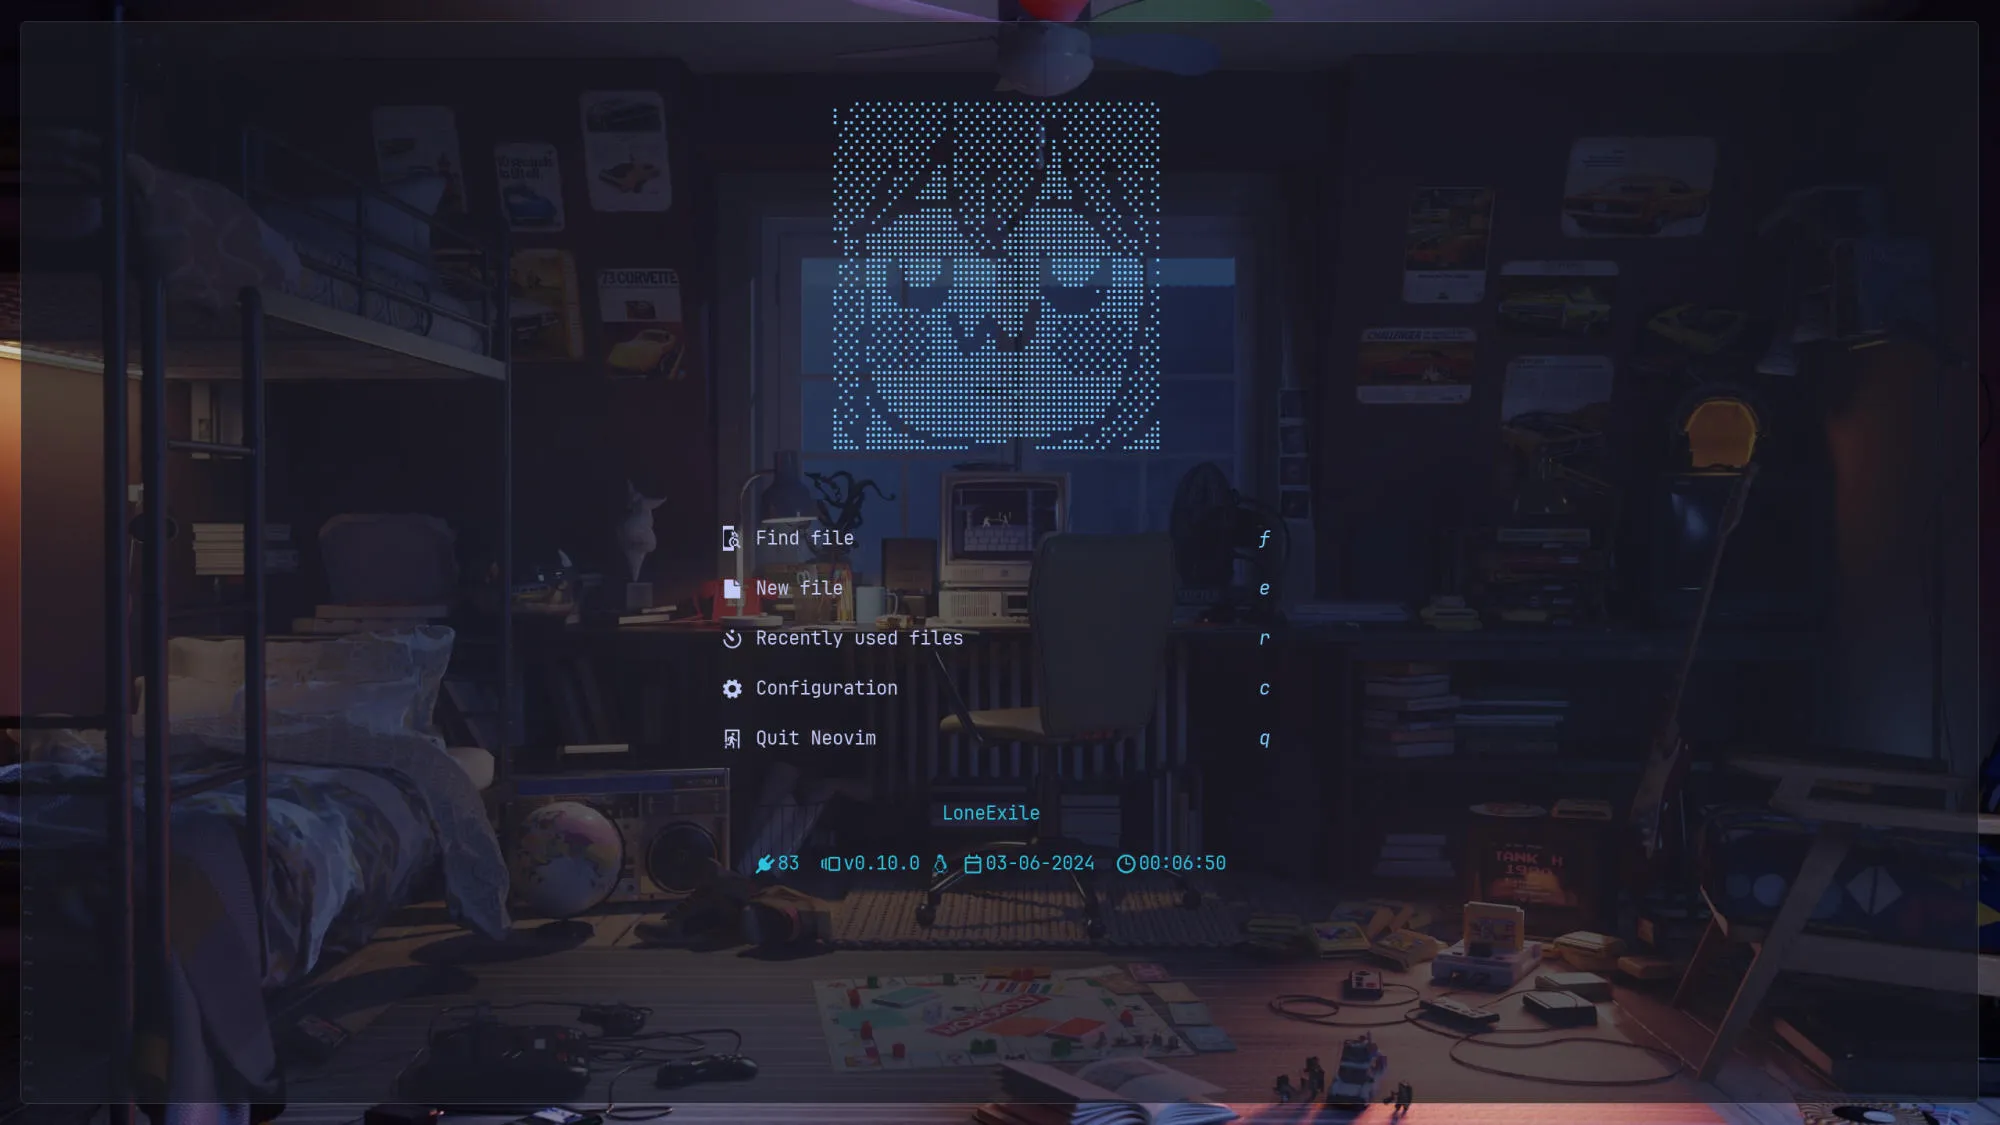
Finally, I can use my Neovim and start working now 🚀
If you have any questions, please leave a comment below.